
Strategy · 3 min read
Use Professional Pool Decision Checklists at Amateur Shot Percentages
A professional's decision can reveal which variables matter without proving that the same shot is right for another player. Keep the checklist—ball, route, speed, miss cost and alternative—but replace assumed execution with your own measured evidence. The match-observation guide teaches what to notice; this page converts one observed choice into a scaled table test.
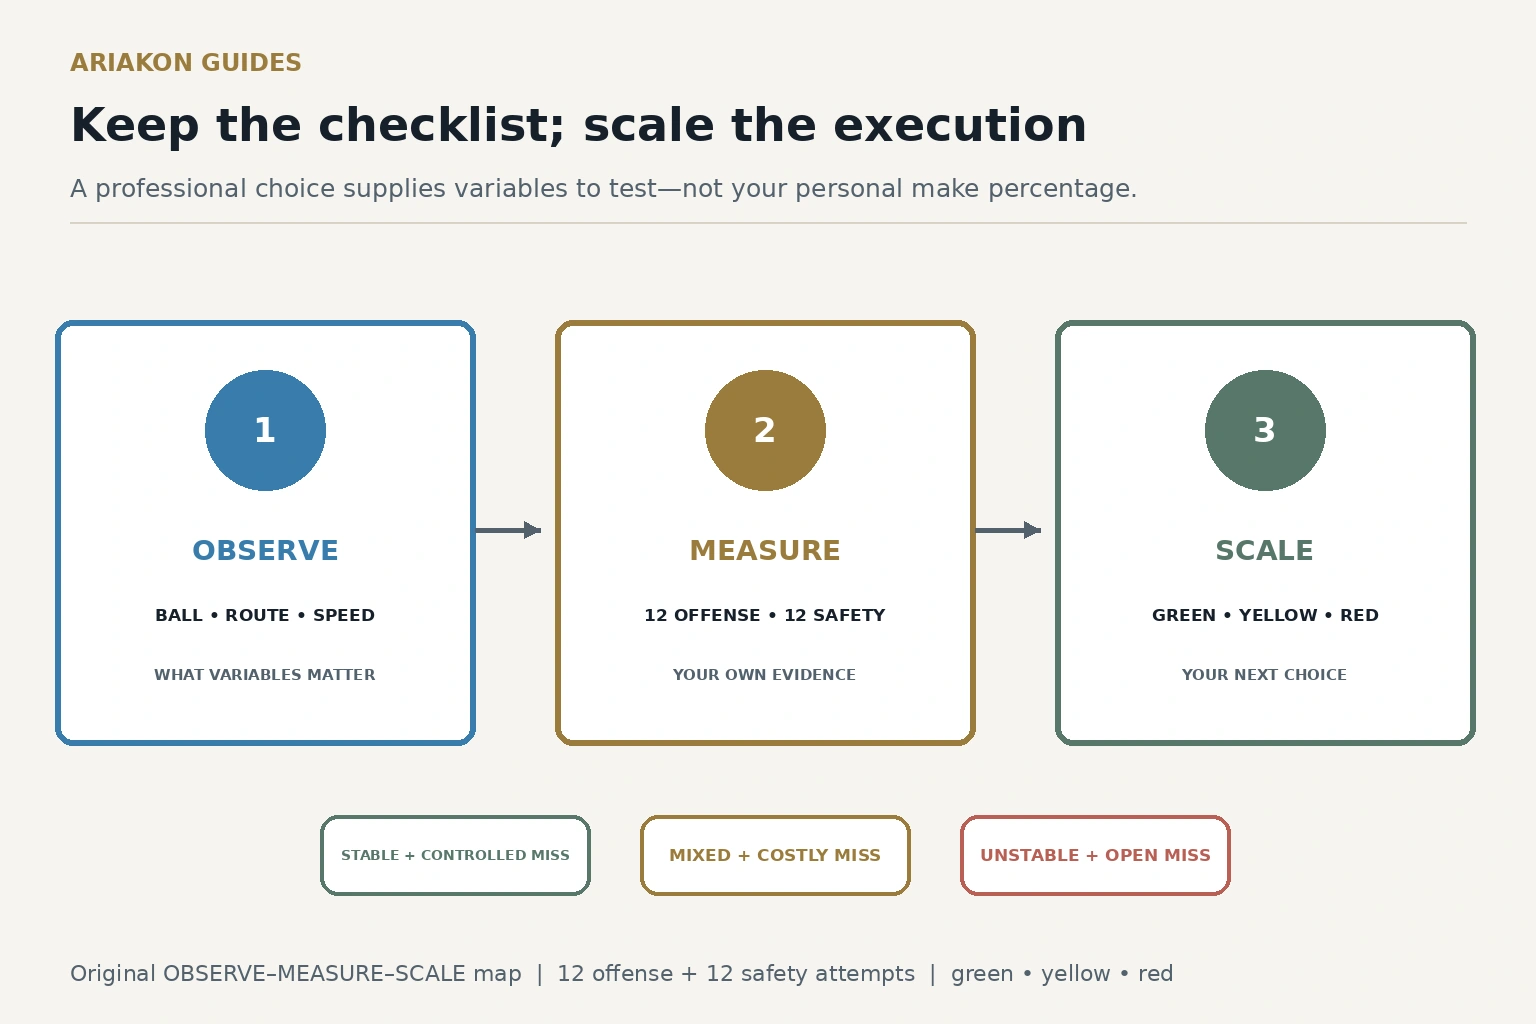
Separate the decision from elite execution
| Professional evidence | Amateur translation |
|---|---|
| Tight position window accepted | Measure whether a broader route is available |
| High-speed stroke used | Test a lower-speed route first |
| Thin cut chosen over safety | Compare personal cut and safety scores |
| Sidespin holds a line | Use center ball unless spin is calibrated |
| Aggressive choice at a match score | Record whether the score changed the miss cost |
Learn from professional matches without copying everything to collect one observable decision.
Calculate shot risk from your own practice percentages before adopting the same threshold.
Build a matched offense and safety test
Recreate only the essential geometry from the observed shot: object-ball distance, cut direction, rail relationship and cue-ball target. Mark a lower-demand offensive route and one legal safety from the same start. Do not claim the layout reproduces the professional table, cloth or pressure.
Shoot twelve alternating attempts of each option. Offense earns one point for the pocket and one for the broad position zone. Safety earns one for legal contact and one when no full direct hit is left. Record scratches separately.
The twelve offense attempts and twelve safety attempts are twenty-four total. Each option has a 24-point ceiling; compare option components without adding them into a single success percentage.
Scale the checklist to three personal bands
Set the band after the test, not from one make or one televised example. Bands are temporary evidence for this setup, table and date.
| Band | Evidence in this setup | Default use |
|---|---|---|
| Green | Stable result and controlled miss | Available under ordinary conditions |
| Yellow | Mixed result or expensive miss | Use only with favorable score/layout |
| Red | Unstable result and open-table miss | Choose a simpler route or safety |
Keep the professional checklist, change the shot
| Check | Question |
|---|---|
| Is the shot inside my current evidence band? | |
| Position | Can the target zone be widened? |
| Speed | Does the route need speed I have not calibrated? |
| Miss | What starter does the opponent receive? |
| Alternative | Is the safety easier and strategically useful? |
Worked example: keep the question, lower the demand
A player observes a professional use inside spin to cross two rails for a narrow window. In twelve matched attempts, the player's spin route earns 10/24 component points and scratches twice; a center-ball one-rail route earns 18/24 with no scratch. The transferable lesson is route comparison, not the elite spin choice.
The player writes the center-ball route on the match card and keeps the spin route as a separate calibration drill. After three dated blocks, the bands can be reviewed without claiming a permanent skill percentage.
Sources and further reading
References support the specific factual information above. The practical checklists are Ariakon editorial guidance.