
Strategy · 4 min read
Use Ball in Hand to Solve the Rack
Ball in hand lets you select a first shot, but the useful comparison includes the next required ball. Write two legal placements, call a finite cue-ball finish and keep the plan separate from the result. A straighter second shot on paper is not a guaranteed runout.
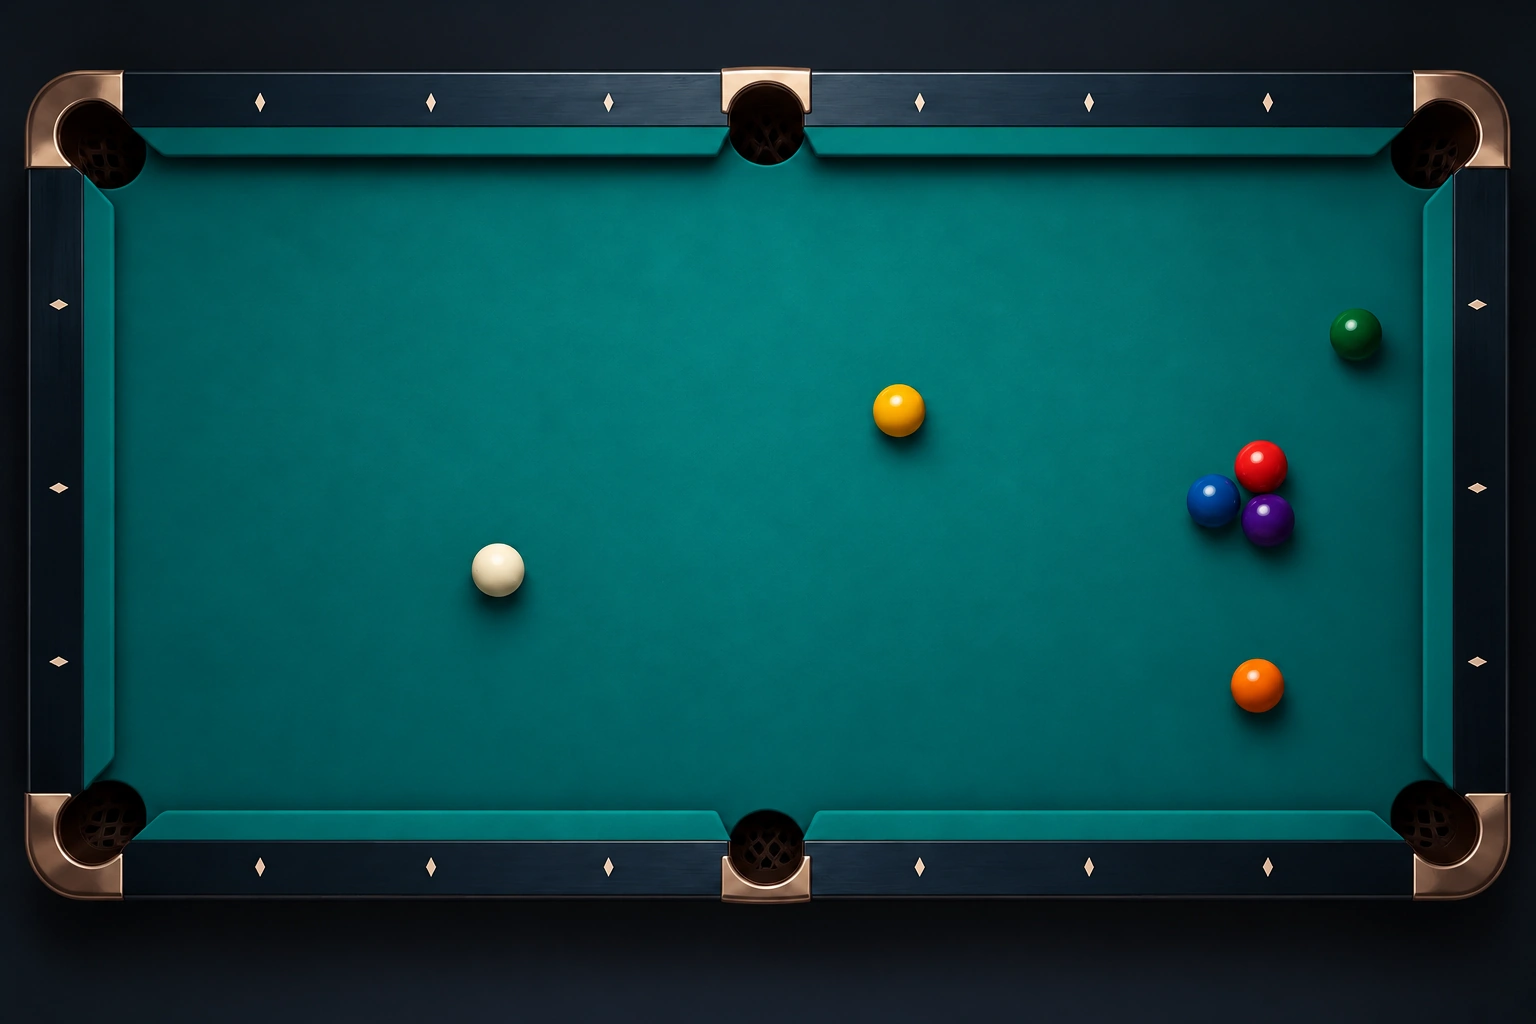
Establish ordinary nine-ball ball in hand
Use WPA nine-ball after an ordinary foul: the incoming player may place the cue ball anywhere and must contact the lowest-numbered remaining object first. This worksheet is not a break or push-out rule. Place by hand and check adopted rules before play; stop a transfer inning at a miss or foul.
The broad eight-ball guide analyzes group dependencies. Here the task is a narrower placement comparison with balls 1,2,9 and one deliberately blocked alternative pocket.
Analyze eight-ball dependencies separately when the rule state and decision are about groups rather than rotation.
Separate object aim from cue-ball planning before comparing the two placements.
Build the exact three-ball input
Use ball-center coordinates on an illustrative 100×50-inch bed: x=0..8 along the length, y=0..4 across it, origin at the lower-left cushion-nose corner. Equal 2.25-inch balls have radius 0.09 and diameter 0.18 units. Intact-cushion center limits are 0.09..7.91 and 0.09..3.91. Six real pockets interrupt the boundary at the four corners and (4,0),(4,4). Measure the actual bed, balls and pocket mouths before scaling; remove measuring aids before shooting and never mark a competition table.
Set 1 at O1(6, 2), 2 at O2(3, 2) and 9 at O9(1.5, 3). First object pocket P1(8, 4) is the upper-right corner; intended first-contact cue center G1(5.872721, 1.872721). Direction n=(1,1)/√2 is the object line and t=(−1,1)/√2 its tangent.
Plan the 2 to lower-left P2(0,0), with first-contact cue center G2(3.149769, 2.099846) and object direction u2=(−3,−2)/√13. The 9 sits exactly on the alternative 2→upper-left (0,4) segment, blocking that alternative. The chosen 2→lower-left line clears it; do not quietly use the blocked upper-left pocket.
Compare two called finite finishes
Placement A uses cue start C_A(5.165614, 1.165614), one unit directly behind G1 along n, with a called stop disk of radius 0.18 at G1. Placement B uses C_B(5.562138, 0.71361), 1.2 units behind G1 along incoming e=(cos 75°,sin 75°), a thirty-degree cut. Its called disk is Z(4.812061, 2.933381), radius 0.18, 1.5 units from G1 along +t.
Both cue approaches contact the 1 before another object in the specified layout. The 1→upper-right object line is unobstructed. The B disk is a chosen finish before any cushion, not a guaranteed tangent endpoint: pace, arrival spin and local conditions still need calibration. Both candidate next approaches to G2 and the selected 2 object route are clear of the 9 in this input.
| First finish | Cue-center start for the 2 | Approach to G2 | Angle from u2 |
|---|---|---|---|
| A finish at G1 | (5.872721, 1.872721) | 2.732 units | 38.5° |
| B finish at Z | (4.812061, 2.933381) | 1.860 units | 7.1° |
Calibrate finite tangent travel on a fixed cut before expecting the B request to be repeatable.
Score eight reset first shots without inventing a runout
Alternate A,B four times, resetting all three objects and the chosen cue start before each of eight strikes. Call the first finish and write the intended lower-left plan for the 2 plus a conditional final plan for the 9. Use no intentional sidespin and a comfortable controllable delivery.
Score 0 for miss/foul; 1 for legal 1 pot; 2 for that pot plus cue center in the called disk; 3 for score 2 plus a documented usable next plan from the actual resting cue position: clear approach to 2, clear 2→lower-left route and comfortable access, with a conditional plan for 9. Maximum twenty-four points. The third point is a plan check, not execution of two unplayed balls. Unknown result is unscored and reduces the maximum by three.
The table compares ideal called finishes, not actual test results. B’s next approach is shorter and closer to straight in this layout; A remains a legal, potentially useful choice. Reach, repeatable first-shot control and the actual resting position can change which candidate serves the player.
Transfer in four separate innings
Select a placement only after inspecting the actual card. Play four new innings starting from that placement and reset the full three-ball input only between innings. Attempt 1→2→9, stopping the inning at the first miss or foul; never reset the cue ball inside an inning to manufacture a clearance.
After pocketing the 2, plan the 9 from the actual cue position. With the 1 and 2 gone, the upper-left corner (0,4) is an unobstructed object destination for the 9, but its cue approach and reach still require an actual-position check. No fixed intermediate cue route is promised.
Score one per legally potted required ball in transfer: maximum twelve across four innings, with at most twelve transfer strikes. Eight baseline + at most twelve transfer = at most twenty actual strikes, not an automatic twenty. Keep transfer ball count separate from the baseline planning score.
Sources and further reading
References support the specific factual information above. The practical checklists are Ariakon editorial guidance.