
Strategy · 4 min read
Use Blockers and Rails to Create Simple Pool Safeties
A simple safety does not need a spectacular hook. It needs legal first contact, a controlled destination for each ball and an opponent reply that is worse than the shot you declined. This progression practices two reusable resources: hiding the cue ball behind a blocker and sending the object ball to a rail while the cue ball stops in a separate zone.
Confirm the rules before judging the leave
Under current WPA general rules, when no ball is pocketed the cue ball must contact a legal object ball and, after that contact, at least one ball must be driven to a rail. Game-specific first-ball and called-safety rules still apply. Score the drill under the rules you actually play; a pretty leave after illegal first contact is zero.
Use removable coins or paper reinforcements only for setup and remove any marker that could affect a moving ball. Keep all practice balls clear of pocket jaws and use normal equipment.
Build the full three-part safety decision for legal contact, control and opponent difficulty as a complete framework.
Isolate distance when cover is unavailable when the table offers no useful blocker.
Set Shape A: blocker cover
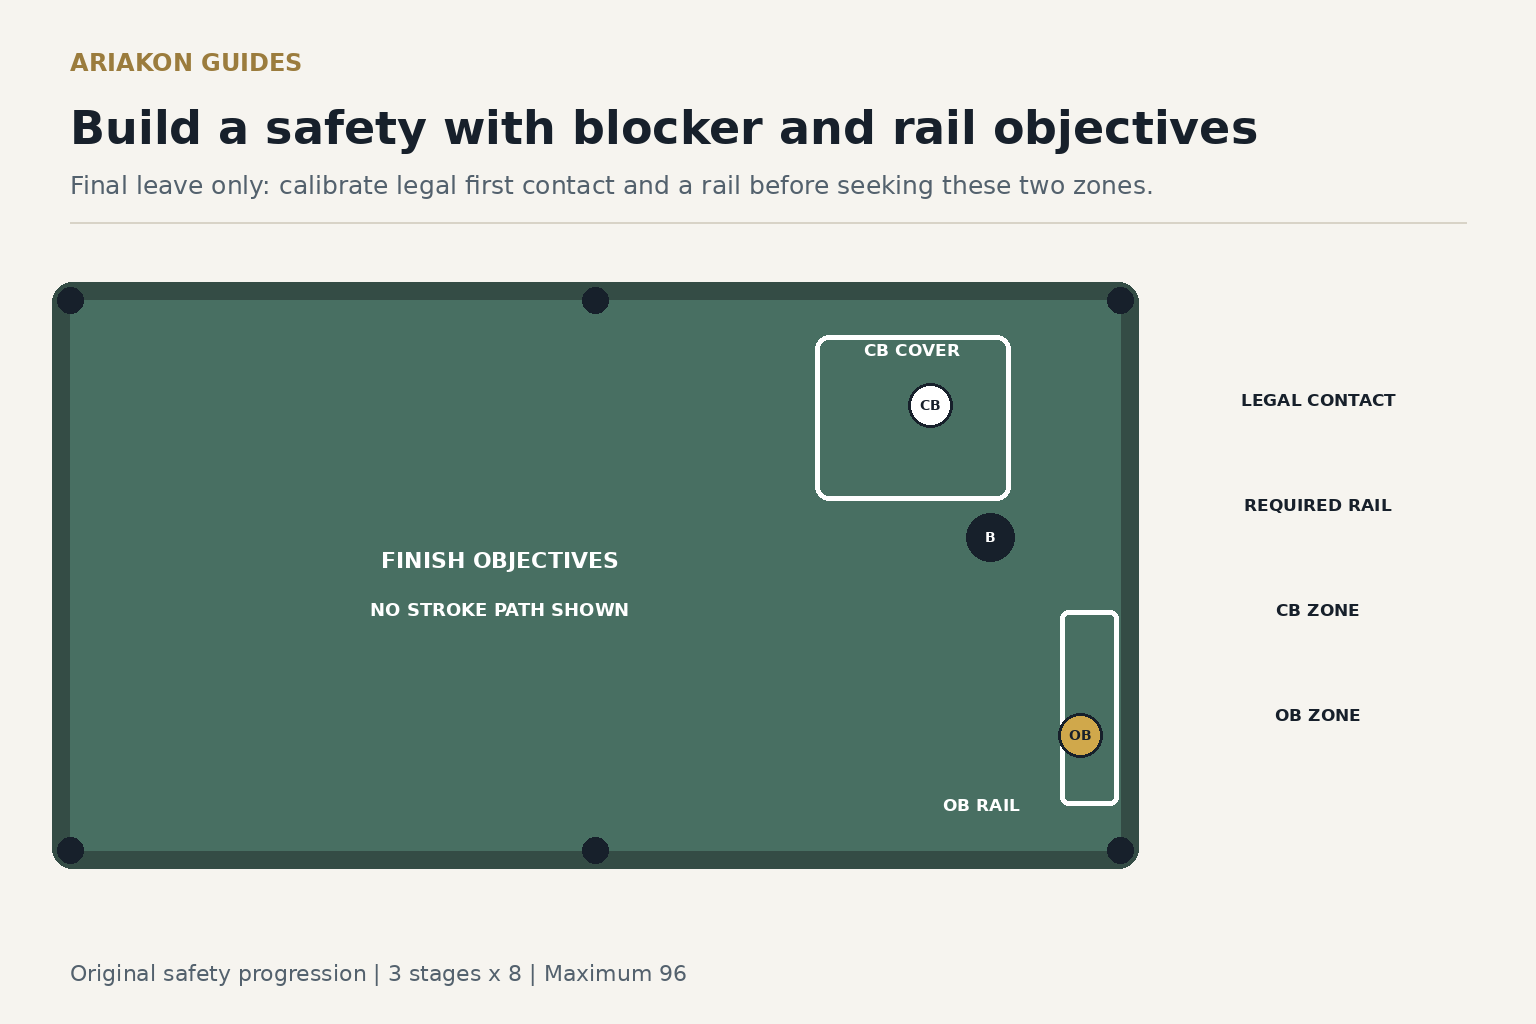
Put the object ball on the long centerline at table center. Put the cue ball one diamond toward the head rail and half a diamond to the left. Place a blocker one diamond beyond the object ball and half a diamond right. Mark a cue-ball cover zone behind the blocker, about one diamond wide by half a diamond deep, as viewed from the object's likely finish.
Play a thin legal contact that moves the object ball to the nearest long rail while the cue ball enters the cover zone. The blocker is not a target to hit. If the cue ball legally moves the blocker after contacting the required target, record a failed cover objective rather than inventing a foul. A hand, clothing or cue touching a ball, or illegal first contact, is assessed under the actual governing rules.
Set Shape B: opposing rails
Remove the blocker. Keep the object ball at center and put the cue ball one diamond directly above it. Mark a cue-ball zone on the upper-left long rail and an object-ball zone on the lower-right long rail, each one diamond long. Use a controlled cut so the balls separate toward opposite rail zones.
This shape is a distance-and-rail safety, not a full snooker. The opponent retains a direct line, so inspect the likely return instead of awarding yourself a hook that does not exist.
Shoot twenty-four attempts
| Stage | Setup | Attempts | Maximum |
|---|---|---|---|
| 1 | Shape A, blocker cover | 8 | 32 |
| 2 | Shape B, opposing rails | 8 | 32 |
| 3 | Alternate A and B; call shape before standing down | 8 | 32 |
Score legality, destinations and reply
After each attempt, stand where the opponent would shoot and name the best visible reply: direct shot, thin safety, kick, bank or no legal view. This label earns no extra point; it prevents a zone score from replacing strategic judgment.
A foul makes the whole attempt zero. On a nonfoul attempt, record the four component points independently. Never credit a pretty destination after illegal first contact or a failed post-contact rail requirement.
| Point | Requirement |
|---|---|
| 1 | Legal first contact |
| 1 | Rail requirement satisfied after contact |
| 1 | Cue-ball center finishes in its called zone |
| 1 | Object-ball center finishes in its called zone or behind the called blocker line |
| Maximum 96 | Twenty-four attempts |
Diagnose the miss, then transfer it
Worked example: a player scores 25 of 32 on blocker cover and 19 of 32 on opposing rails. Six rail-shape misses leave the object ball short. The next block keeps the same cut and increases only object-ball travel. For game transfer, place one blocker in a fresh layout and play six safeties, calling cover or opposing rails before each shot. Score the same four points; maximum 24.
| Pattern | Likely control problem | Next action |
|---|---|---|
| Cue ball crosses cover zone | Too much cue-ball travel or wrong cut thickness | Shorten speed before changing aim |
| Object ball misses rail zone long | Object-ball speed or cut changed | Keep contact call; reduce delivery |
| One ball reaches no rail | Illegal outcome | Simplify contact and restore rail margin |
| Both zones pass but direct reply remains easy | Zones do not create difficulty | Move the zone or choose offense |
Sources and further reading
References support the specific factual information above. The practical checklists are Ariakon editorial guidance.