
Cue-ball control · 4 min read
Troubleshoot Cue-Ball Control by Checking Tip Contact First
Unexpected cue-ball position can begin with the cue tip contacting somewhere other than intended. Checking contact first does not mean every error is a contact error. It means the earliest observable event is examined before aim, speed, cloth, spin or equipment is blamed. This protocol uses broad contact bands and temporary chalk-transfer evidence; it does not claim to measure exact tip offset.
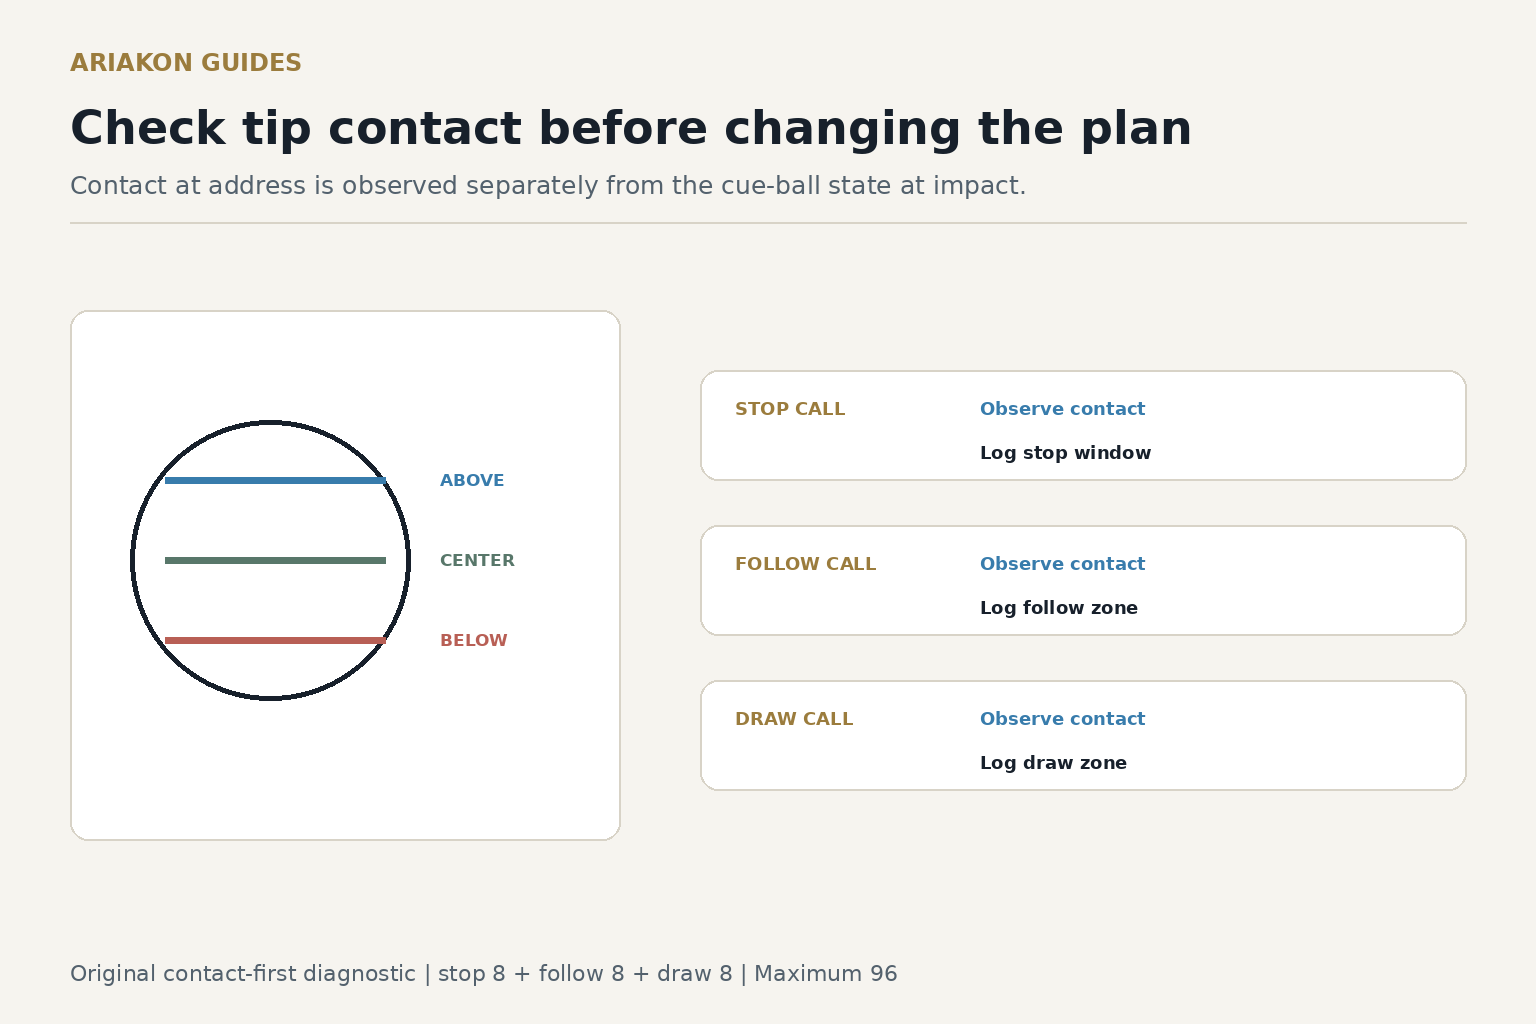
Build one straight diagnostic station
Put the object ball about one diamond from a corner pocket and the cue ball one diamond straight behind it. Mark both centers. Behind the cue-ball start, mark a draw zone; around the cue-ball center at object-ball contact, mark a stop window; beyond the object-ball start, mark a follow zone. Make each zone about one diamond long and one ball wide so the first session measures broad control rather than precision distance.
Use a clean regulation ball set and a normally chalked tip. A striped or marked training cue ball can help orient vertical-axis contact. If you use temporary chalk transfer on an ordinary cue ball, inspect it after the shot and wipe it with a clean dry microfiber cloth before resetting. Do not add ink, abrasive powder or a thick chalk target to the ball. Follow the ball maker's care guidance for deeper cleaning.
For the straight stop task, the cue-ball center at contact is one ball diameter behind the object-ball center on the incoming line. It is not the cue ball’s starting position. Do not award a stop-window point to a cue ball that stayed at the start without contacting the object ball.
Build precise draw control after the below-center contact band is stable.
Film cue-ball contact when the transfer mark is unknown or inconsistent.
Use broad contact bands, not invented millimeters
The baseline outcome depends on speed and cloth; adjust the zones during four unscored trials, then freeze them. Contact bands are observational categories. When a mark is smeared, hidden or absent, record unknown rather than choosing the closest band.
| Call | Intended band | Baseline outcome |
|---|---|---|
| Stop | Near vertical center | Cue ball finishes in the stop window |
| Follow | Comfortably above center | Cue ball reaches the follow zone |
| Draw | Comfortably below center and inside miscue limit | Cue ball returns to the draw zone |
Shoot twenty-four attempts
Before every shot, write the contact call and personal speed word. After the shot, record observed contact band, pocket result and signed cue-ball finish: short, in zone or long. Do not change aim or speed within a block unless safety requires it.
| Block | Attempts | Call |
|---|---|---|
| A | 8 | Stop: center band and stop window |
| B | 8 | Follow: above-center band and follow zone |
| C | 8 | Draw: below-center band and draw zone |
Score four independent events
A made ball with the wrong contact keeps its pocket point but loses the contact point. A correct contact that finishes short keeps its contact point and directs attention to speed or conditions. Keeping these columns separate prevents the final cue-ball position from rewriting what happened earlier.
| Point | Requirement |
|---|---|
| 1 | Observed contact band matches the intended band |
| 1 | Object ball is pocketed in the called corner |
| 1 | Delivered speed appears to match the pre-shot personal call |
| 1 | Cue-ball center finishes in the called zone |
| Maximum 96 | Twenty-four attempts |
Let the first failed event choose the retest
Worked example: stop and follow contact match on fourteen of sixteen attempts. Draw matches on only three of eight; five marks appear near center and all five finishes are short. Repeat eight draw shots with the same speed and a comfortably low band, focusing only on contact. Do not buy equipment, lower the tip toward a miscue or add more speed based on this small block.
For transfer, choose six ordinary position shots and call only high, center or low contact before each. Afterward, mark observed contact known or unknown and whether the cue ball reached a broad position zone. Maximum twelve. The diagnostic has transferred when it remains a quick check rather than a new source of paralysis.
| Observed cluster | First useful interpretation | Next eight-shot block |
|---|---|---|
| Contact differs; pocket and finish vary | Delivery contact is not stable | Repeat the same band at an easier speed |
| Contact matches; speed differs; finish varies | Speed changed before distance | Keep contact; isolate one speed call |
| Contact and speed match; misses alternate | Aim or alignment remains unresolved | Use center-contact straight-shot alignment |
| Contact, speed and pocket match; finish shifts | Conditions or zone calibration may differ | Repeat another day before equipment claims |
| Evidence is mostly unknown | Observation method is insufficient | Improve lighting or use a safe side camera |