
Position play · 3 min read
Recover Pool Position After Leaving the Wrong Angle
The wrong angle is not automatically a lost rack. It is a new layout. Recovery begins by abandoning the previous plan, identifying what the current tangent or rolling path actually offers, and choosing among four honest options: accept a longer next shot, use a rail, change pocket or order when the game permits it, or play safe. This drill scores both the current ball and the usefulness of the leave.
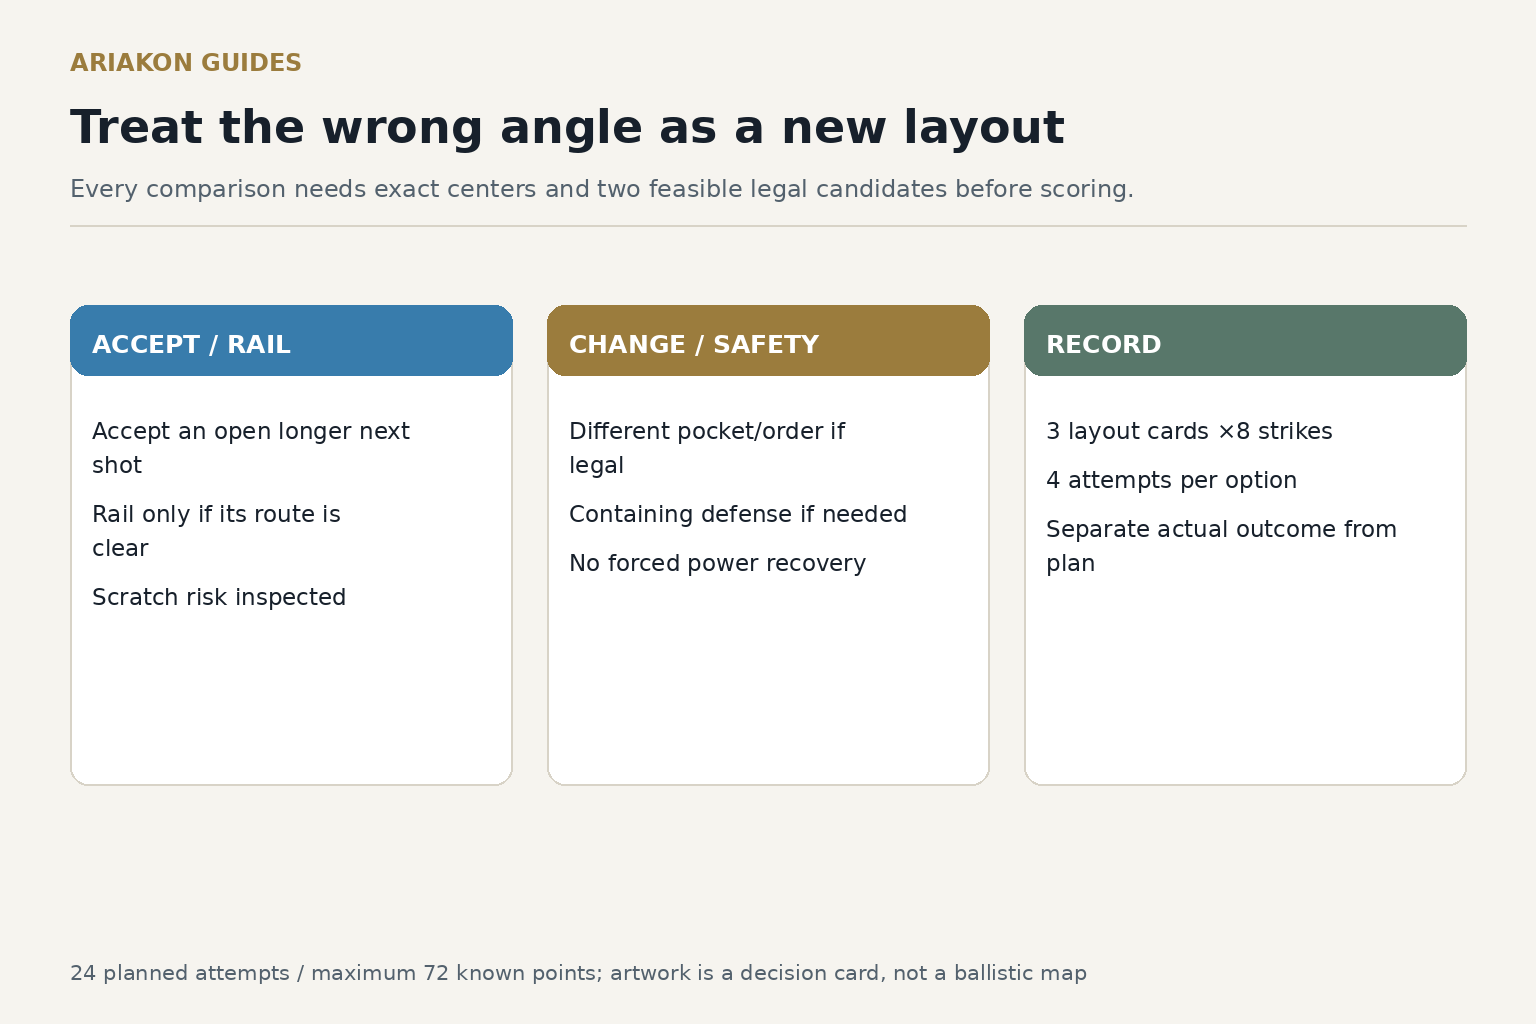
Stop planning from the position you wanted
Stand up and redraw the current problem: called pocket, object-ball line, cue-ball tangent or rolling direction, scratch paths, blockers and the next useful zone. The old target is now history. A recovery route that exists only with excessive speed or extreme sidespin is not automatically better than accepting a longer shot.
Use a stated geometric reference and a comfortable controlled pace request. Use those lines as starting estimates and calibrate them on the actual table.
Review backward pattern planning before rebuilding the remaining rack from the new cue-ball position.
Use a four-option recovery card
| Option | Choose when | Primary risk | Call before shooting |
|---|---|---|---|
| Accept | A longer next shot remains open | Distance | Broad next-shot zone |
| Rail | Natural path gains angle without traffic | Scratch or overrun | Rail and entry side |
| Change | Rules and layout permit another pocket or order | New traffic | Pocket, route and next ball |
| Safety | Offense needs low-percentage force or spin | Weak containment | Contact, cover and distance |
Mark three recovery layouts
| Layout | Error presented | Allowed choices | Attempts |
|---|---|---|---|
| A | Too straight on current ball | Accept or one rail | 4 each |
| B | Wrong side of next ball | One rail or change pocket/order | 4 each |
| C | Traffic blocks natural route | Accept or safety | 4 each |
Freeze a replayable layout card before scoring
For each of A,B,C, record every ball center, game/rule state, first legal object and named pocket, actual cue start, two tested candidate route descriptions and finite cue-center finish boundaries. Verify each legal route in safe ordinary practice; a choice with no feasible pocket or required cushion is held, not assigned four fictional attempts. Keep one baseline image and the exact version for both candidates.
Each layout receives eight reset strikes, four per candidate, in order A,B,B,A,A,B,B,A. Three layouts therefore have 24 planned actual strikes. An unknown outcome is unscored and reduces its own possible denominator; a prestrike safety stop is unused. The artwork is a decision worksheet, not a route that claims to produce those zones.
Score the called recovery
| Points | Result | Record |
|---|---|---|
| 0 | Foul, wrong first contact or invalid setup | First failed event |
| 1 | Legal contact but primary result misses | Signed miss or finish |
| 2 | Primary result succeeds | Pocket or called contact |
| 3 | Primary result plus cue-ball condition | Pocket and called zone |
Compare usefulness, not drama
Twenty-four attempts have a maximum of 72 points. For each layout, compare the two options by subtotal and failure type. Prefer the simpler route when totals are within 3 points, because the extra rail, speed or spin has not produced a clear personal gain.
Record the first failed event: current-ball pocket, scratch avoidance, traffic clearance, entry side or next-shot window. Do not label every failure 'bad speed'; a wrong entry side is a route-selection error even when the cue ball travels the intended distance.
Work one rack decision
In Layout A, accept scores 10 of 12 and the rail route scores 7, with two scratches. The player chooses the longer next shot in match play. In Layout B, the rail route scores 9 and changing pocket scores 11 with no new blocker. The rule and rack permit the change, so the second option earns the game transfer.
Finish with one random three-ball layout. Deliberately place the cue ball on the wrong side after the first shot, pause, use the four-option card and complete the rack. Score 0–3 on each recovery decision, separate from ordinary pocketing.
Sources and further reading
References support the specific factual information above. The practical checklists are Ariakon editorial guidance.