
Equipment reference · 3 min read
Confirm Replacement-Shaft Fit Across Seven Physical Fields
A joint name can narrow a search, but fit is an assembly result. Confirm seven physical fields on the intended butt and candidate shaft. Stop at the first mismatch instead of forcing the joint or removing material to make a purchase work.
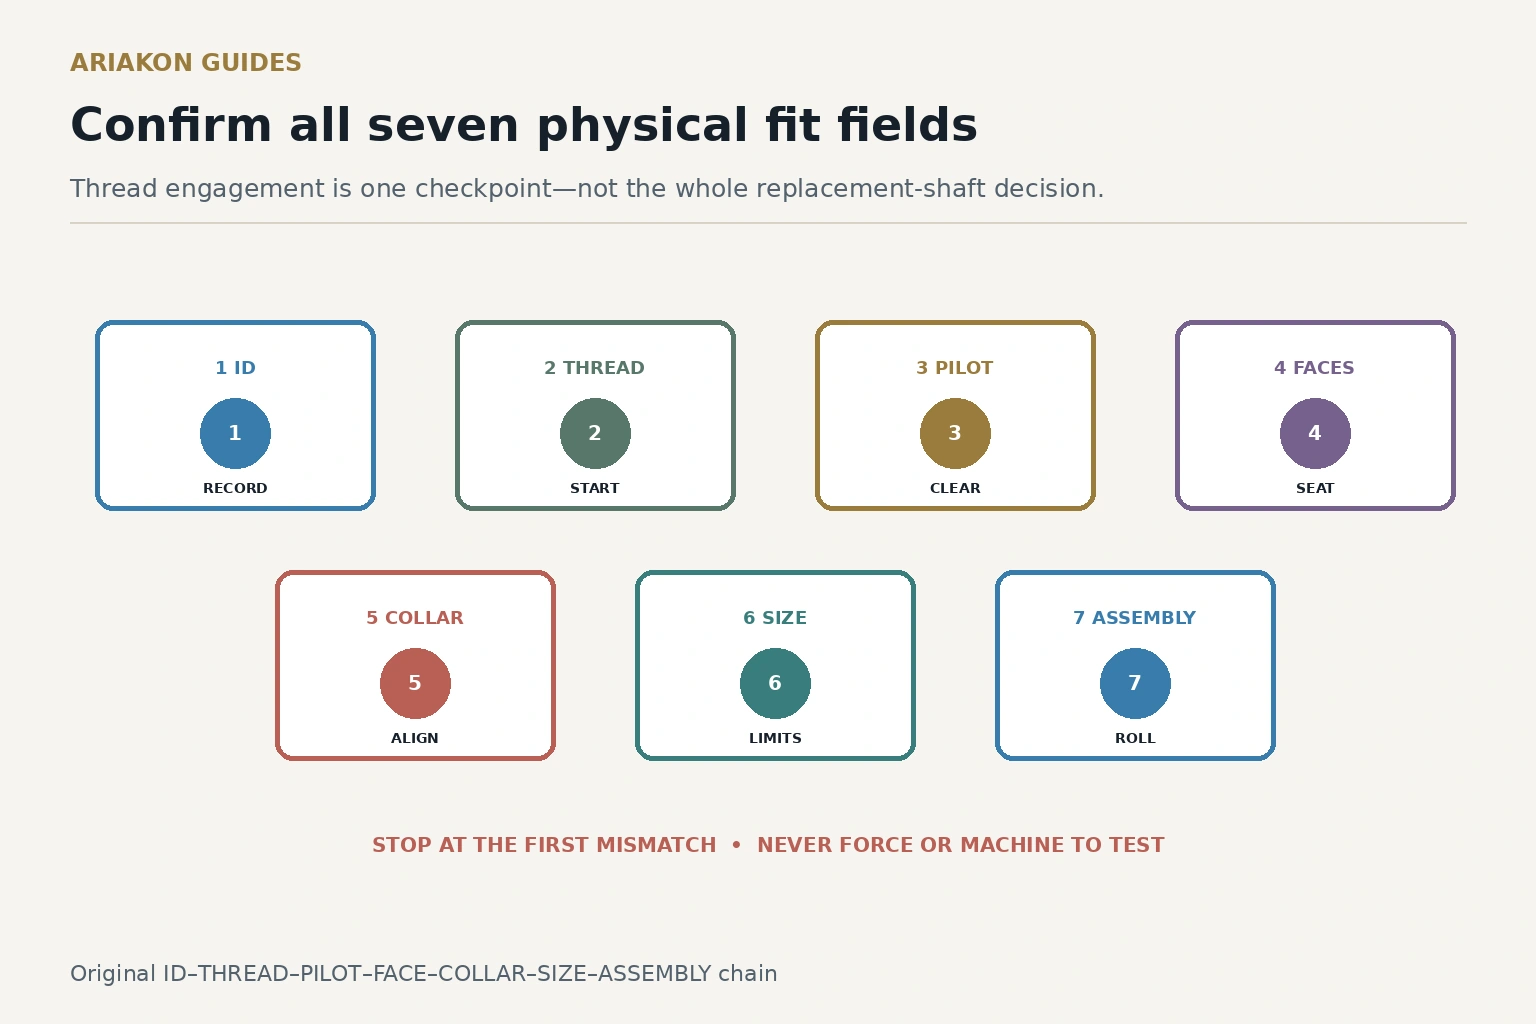
Record all seven fit fields
| Field | Record | Failure evidence |
|---|---|---|
| 1. Identity | Butt and shaft marks, dates, photos and service history | Unverified model is treated as unknown |
| 2. Thread | Pin or insert form, diameter, pitch and engagement | Crooked start, bind or incompatible form |
| 3. Pilot | Diameter, depth and clearance where present | Pilot bottoms or interferes |
| 4. Faces and insert | Face geometry, insert material and full seating | Rocking, early bottoming or unexplained gap |
| 5. Collar | Diameter, ring position and transition | Sharp mismatch or unapproved machining needed |
| 6. Dimensions | Joint-face-to-tip length, tip diameter and shaft weight | Configuration misses the owner's stated limits |
| 7. Assembly | Hand seating, visual alignment, assembled roll and sound | New lift, wobble, click or stress |
Identify your joint before buying for the earlier identification task.
Build a service record before modifying parts when a mismatch may require work.
Measure without converting a nominal label into certainty
Photograph both joint faces square-on. Measure collar diameter and accessible pilot geometry in millimeters, recording tool resolution. Count or gauge thread features only with a suitable method; visual estimates are screening evidence, not a machining instruction.
Keep nominal published values separate from the physical specimen. Tips wear, shafts are serviced, collars can be reduced and inserts can be replaced. Present fit belongs to the present assembly.
Before any normal assembly, obtain exact-pair compatibility confirmation from the maker or a qualified cue technician. Do not use a candidate shaft as a thread or pilot gauge. An unknown geometry remains a hold; the gentle seating checks below apply only to an already cleared pair.
Use a no-force assembly sequence
Clean only loose surface debris with an approved dry method. Align the parts, begin the thread by hand and stop immediately if the start is crooked. Continue with fingertips; resistance should not require leverage. Watch the pilot as the faces approach, then inspect face contact and collar transition.
Do not chase threads, deepen an insert, sand a collar or face a joint as part of a shopping test. Those are service operations requiring measurement, qualification and owner authorization.
Worked used-butt example
A used butt has no paperwork. Its pin and a candidate insert appear compatible, and the first turns engage smoothly. At the final turn, the pilot bottoms with a 0.8-millimeter face gap. Fields two and three disagree: stop, photograph the gap and keep the candidate separate.
A second shaft matches the measured thread and pilot, the faces meet evenly and the collar differs by only the owner's accepted cosmetic tolerance. The assembled cue rolls without a new lift or click. Record the complete seven-field pass before any playing comparison.
Separate fit from performance
| Result | Supported conclusion | Not supported |
|---|---|---|
| Seven fields pass | Candidate is physically cleared for a bounded trial on this butt | Universal compatibility or preferred feel |
| One field fails | Assembly stops pending service or a different candidate | That the thread label was false |
| A field is unknown | More measurement or qualified inspection is required | Permission to force or machine the part |
| Trial feels different | This player noticed a difference in this assembly | Cause, construction or universal performance |
Sources and further reading
References support the specific factual information above. The practical checklists are Ariakon editorial guidance.