
Strategy · 4 min read
Choose Between a Bank, a Cut and a Safety in the Same Layout
A cut, bank and safety can all be available without being equally useful. The right choice depends on rules, your current execution evidence and what remains after success or failure. This drill tests all three from the same marked layout. It does not assign universal shot percentages or pretend practice counts equal match odds.
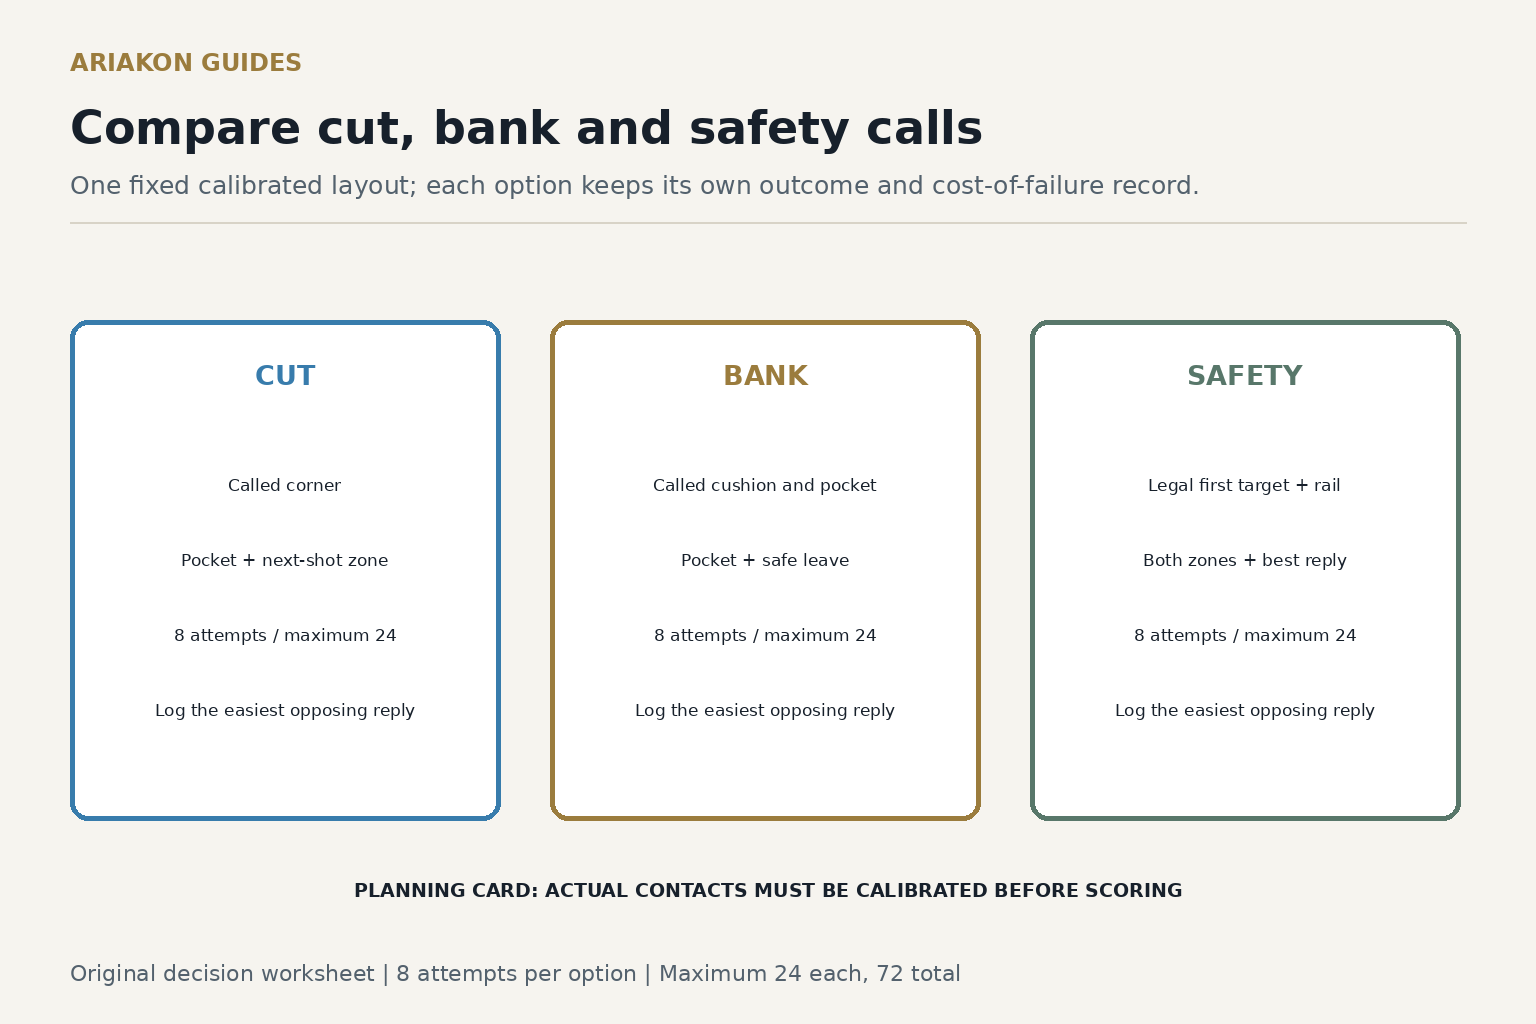
Build one layout with three honest options
Use the upper-right corner as the direct-cut pocket and the lower side pocket as the one-rail-bank pocket. Put the object ball near table center and the cue ball down and left of it so a direct cut, a bank from the top long rail and a thin safety contact are all available. During four unscored trials, move the cue ball only until none of the three choices requires a jump, masse or obstructed cueing. Then mark both ball centers.
For the safety, mark a cue-ball zone toward the left half and an object-ball rail zone on the right. The objective is separation and a difficult reply, not a claimed full snooker. Under current World Pool Association general rules, first contact must be legal and, when no ball is pocketed, at least one ball must reach a cushion after contact. Apply the game-specific rules you actually use.
Use the three-question shot decision when you need a faster match routine after building evidence.
Review one-rail bank calibration if the bank path itself is not yet predictable.
Write the decision card before shooting
Eliminate an option before percentages if its intended path is illegal, blocked or carries a scratch you cannot reasonably control. Then call one result: pocket plus cue-ball zone for offense, or both destination zones for safety.
| Question | Cut | Bank | Safety |
|---|---|---|---|
| Legal first contact and rail path? | Yes / no | Yes / no | Yes / no |
| Scratch or foul route? | Name it | Name it | Name it |
| Success leaves what? | Next-shot zone | Next-shot zone | Opponent reply |
| Failure leaves what? | Open shot / distance | Open shot / distance | Direct / kick / bank |
Run twenty-four controlled attempts
Reset exactly after every attempt. Use the same order on the first session. On a later session, rotate the starting option so fatigue does not always affect the safety block. Do not shoot a correction ball between scored attempts.
| Block | Attempts | Called result |
|---|---|---|
| Cut | 8 | Pocket in the upper-right corner; cue ball in a marked next-shot zone |
| Bank | 8 | Top-long-rail bank into the lower side pocket; cue ball outside the scratch lane |
| Safety | 8 | Legal contact; cue ball in its called zone and object ball on the right rail |
Score outcome and cost of failure
Also classify every failed attempt from the opponent's viewpoint: open direct shot, difficult direct shot, bank, kick or no legal view. That label is not an extra point. It keeps two options with the same success count from looking identical when one failure routinely sells out the rack.
Worked example, explicitly illustrative: a player records cut 15 of 24 points with five open failures, bank 14 with two open failures, and safety 18 with one open failure. In a must-control situation, the worksheet favors safety. With an easy winning ball after the cut and a score that demands offense, the cut may still be rational. The drill informs the choice; it does not choose without game context.
| Point | Requirement |
|---|---|
| 1 | Legal first contact and no scratch or foul |
| 1 | Primary call succeeds: pocket for offense; both rail/destination requirements for safety |
| 1 | Cue-ball or opponent-reply objective succeeds |
| Maximum 72 | Twenty-four attempts |
Make a lower-regret match choice
For transfer, randomize twelve cards labeled cut, bank and safety, four of each. Draw a card, inspect the layout for legality and play the named option unless it is illegal; if illegal, say why and choose one of the remaining two. Score the same three points. Maximum thirty-six.
| Step | Ask |
|---|---|
| 1 | Which options are legal and clear of the worst scratch? |
| 2 | Which option has succeeded in this layout under current conditions? |
| 3 | Which failure gives away the easiest reply? |
| 4 | Does the score demand offense, control or simply avoiding a foul? |
| 5 | Call one option and stop comparing once down on the shot |
Sources and further reading
References support the specific factual information above. The practical checklists are Ariakon editorial guidance.