
Cue care · 4 min read
Check a Pool Cue for Straightness Without Trusting One Roll
A cue that seems to wobble needs an inspection record before a repair label. This guide is a short first screen: separate accessible sections, compare the shaft silhouette while rotating it gently, inspect the normal joint and describe only what repeats. The advanced alignment worksheet adds controlled surface comparisons when this screen leaves the cause uncertain.
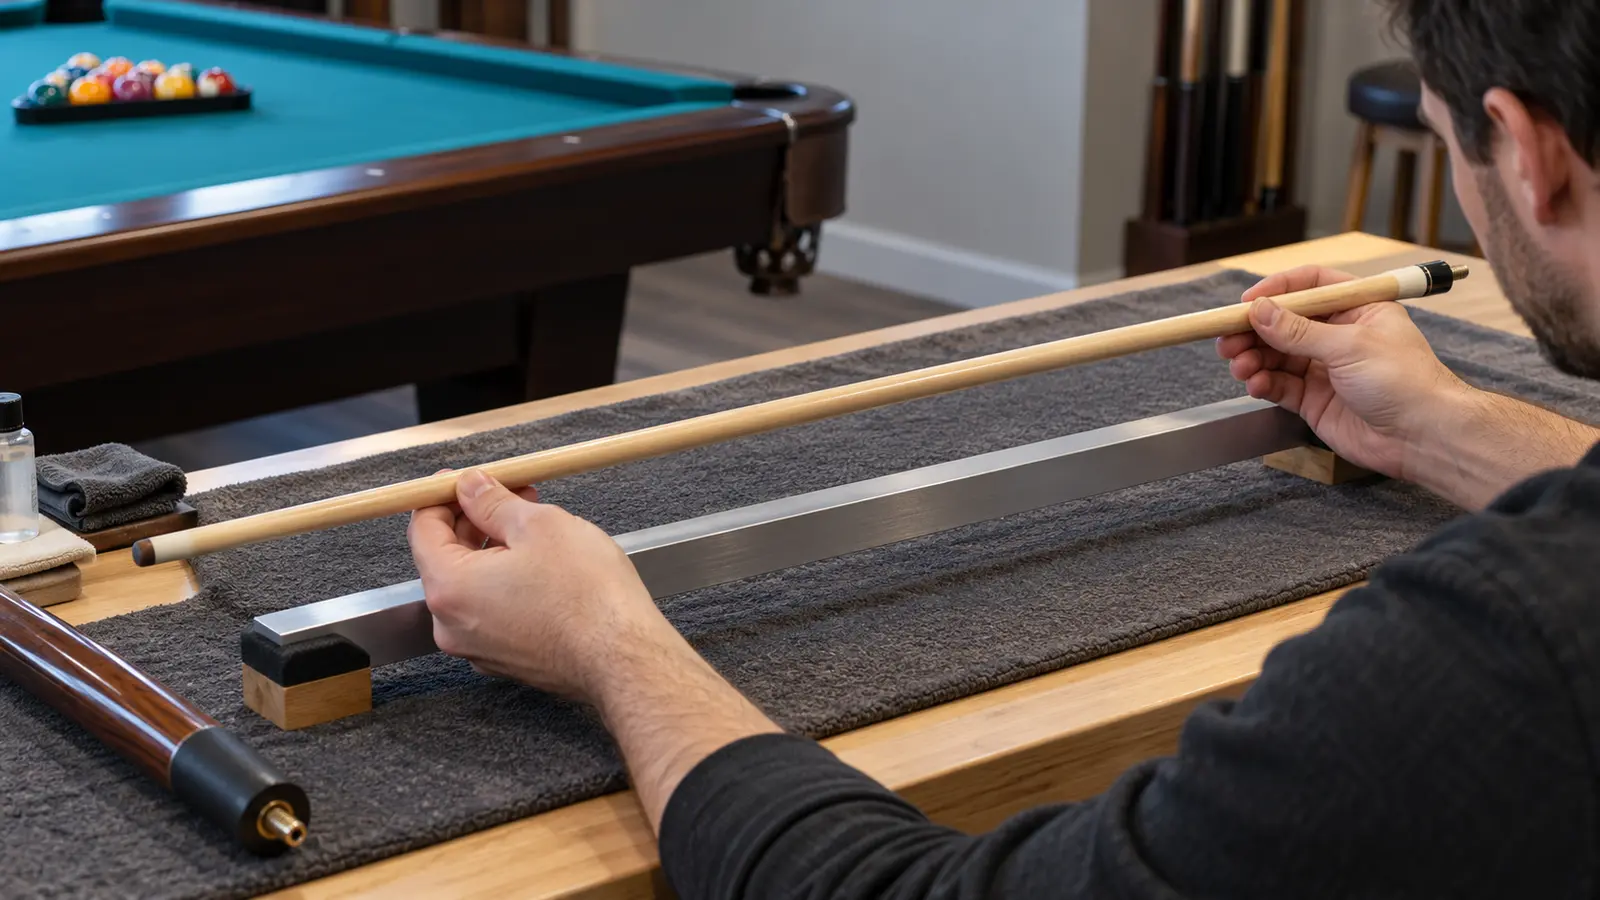
Prepare a non-destructive first screen
Work over a clean padded area with diffuse light and enough room to avoid dropping the cue. Record the date, cue identity, recent impact or storage change and which section seems different. Remove only normally detachable parts using their instructions. Never open a glued component for this inspection.
Photograph visible loose debris before cleaning by the approved method. Do not sand, heat, wet, hang weights from or deliberately flex a suspected section. Those actions can alter both the cue and the evidence.
Record four views of the shaft
Use an existing visible feature to track orientation in the notes; do not mark or tape an unfamiliar finish. Support the section lightly without squeezing or pushing it against a straight edge. Reposition your view as needed and compare more than one viewing direction. A nearby reference edge is a visual reference only, not a certified measuring fixture.
Taper deliberately changes the outer diameter along the shaft. A sloping edge is not itself a bend. Record where the apparent departure occurs and whether it repeats after lifting and replacing the section. Four orientations are four records, not four independent measurements of runout.
| Orientation | Observe without contact pressure | Record |
|---|---|---|
| 0° | Overall silhouette and front end | Stable / repeatable departure / uncertain ___ |
| 90° | Same area under the same light | Stable / repeatable departure / uncertain ___ |
| 180° | Opposite view of the same area | Stable / repeatable departure / uncertain ___ |
| 270° | Final quarter view | Stable / repeatable departure / uncertain ___ |
Inspect the butt and normal assembly
Sight the detached butt separately and note raised wrap edges, bumper features, collars or other shapes that would change contact during rolling. Inspect accessible joint faces and threads without probing them. A visible crack, loose pin, opening bond or binding thread is a stop sign, not a reason to tighten harder.
If there is no stop sign, assemble only the normal matched pair according to its instructions. Do not change rotational seating or overtighten to pursue a preferred sight line. Note any visible face gap or collar transition and document the assembled view; it does not identify the defective component.
Identify the joint before considering another part rather than forcing a near-looking replacement.
View Ariakon playing-cue information for the current documented product destination, not a straightness guarantee.
Treat rolling as optional supporting evidence
An unfamiliar table, cloth seam or raised feature can change a roll. Use only a clean surface whose flatness and finish safety are suitable for the task; if you cannot establish that, skip rolling. Never roll a tip, exposed pin or delicate surface across a damaging edge. A chamfered or irregular butt cannot provide a simple cylindrical-roll test.
Watch a named physical feature rather than labeling every hop as warp. If sighting and rolling disagree, record both and keep the cause unknown. The advanced worksheet is the next step for reproducible surface and assembly comparisons; this first screen does not invent a straightness tolerance.
Isolate surface, section and joint effects when the first screen remains ambiguous.
Send a precise observation, not a home verdict
A worked first screen can end with four stable-looking views and an uncertain assembled view. That is a successful result if it prevents destructive experimentation and gives the technician a precise question. It is not proof that the detached section is straight.
Save the photographs, short fixed-camera video and purchase/service records. Read the current model instructions before use or service. For Ariakon carbon equipment, the published FAQ calls for a clean soft cloth and avoiding abrasive cleaners, excessive heat and modifications; contact support before an unfamiliar care product.
| Field | Example, not a measured test result |
|---|---|
| Symptom | Apparent movement near the front end during rotation |
| Repeatability | Same viewing conditions; four views recorded; repeated once |
| Assembly | Matched pair seats normally / gap or binding observed |
| Limit | Surface flatness and true centerline not measured |
| Next question | What fixture inspection and which components are needed? |
Preserve cue custody and storage records so the inspection context is not lost.
Sources and further reading
References support the specific factual information above. The practical checklists are Ariakon editorial guidance.