
Nine-ball strategy · 3 min read
Prevent Early Rack Nine Ball Errors
The first open shot after the break often looks easy, but early-rack traffic makes the next route and scratch line unusually important. This drill focuses only on the first three decisions after a legal opening layout. The broader unforced-error guide supplies a check for every stage of the rack.
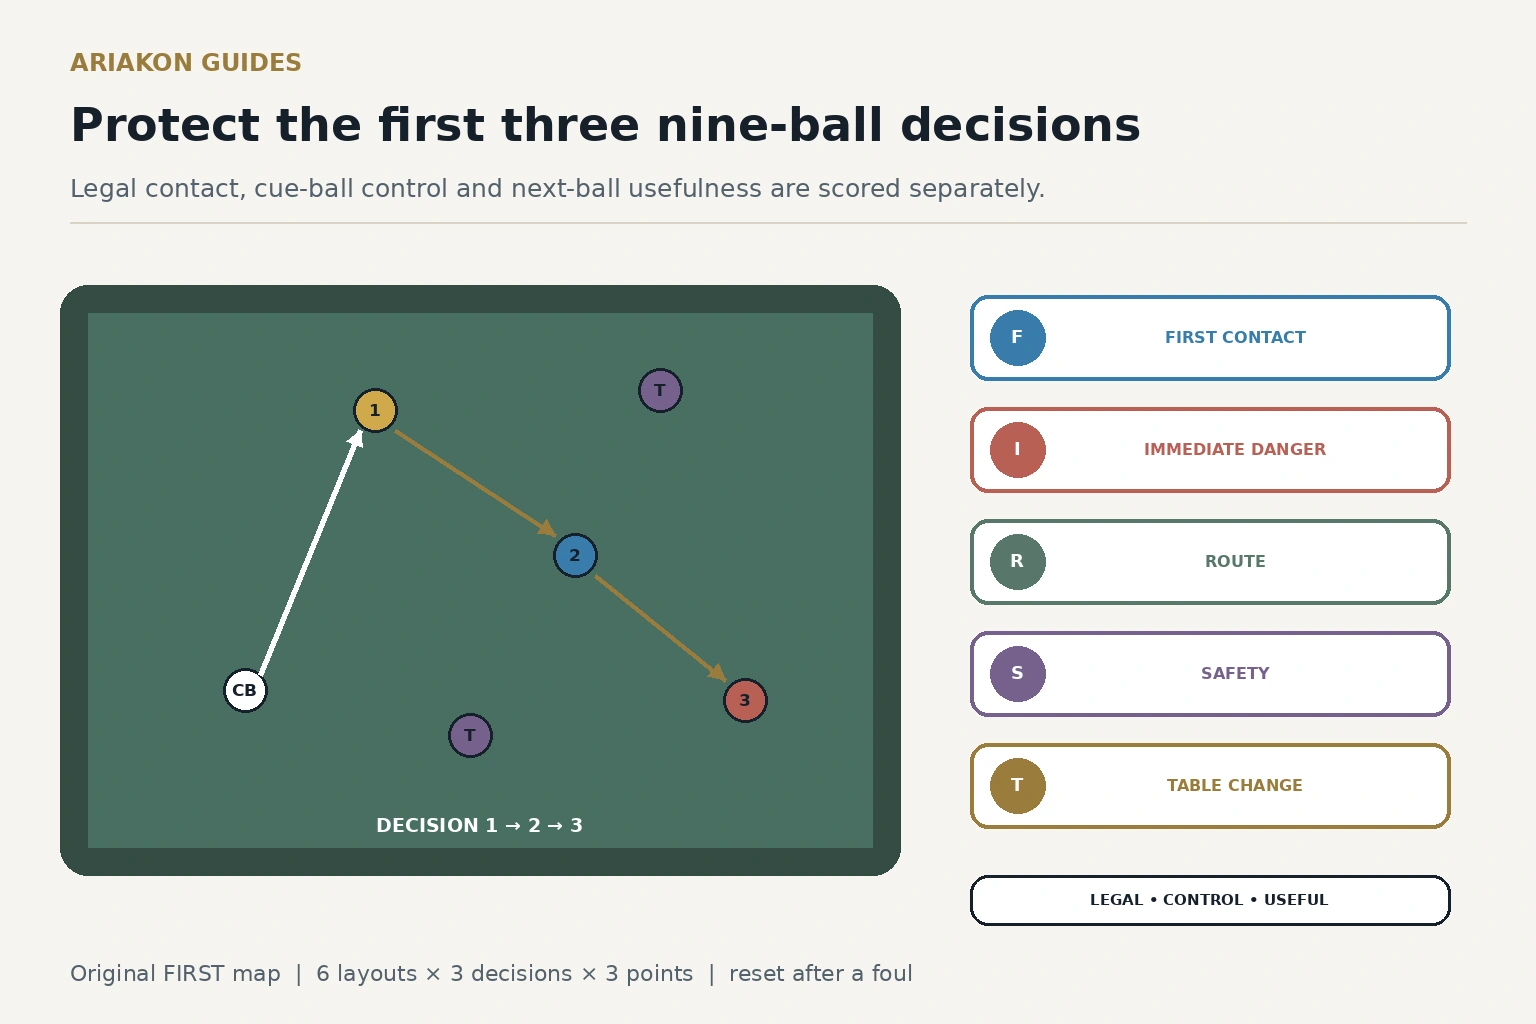
Freeze a legal opening layout
Use the 1, 2 and 3 balls plus two neutral traffic balls. Place the 1 one diamond from the head rail near the right long rail, the 2 near table center, the 3 one diamond from the foot rail near the left long rail, and traffic near both side-pocket lanes. Place the cue ball in the kitchen after the break for this training layout.
Under current WPA nine-ball rules, the lowest numbered ball must be contacted first. Confirm the active league or tournament rules, including break, push-out and foul procedures, before adapting the drill.
This is a simplified post-break training position, not a claim that a nine-ball rack normally contains only five object balls. Use numbered traffic balls above 3 so the intended 1–2–3 first-contact order remains valid. Cue-ball placement in the kitchen is a starting constraint for this reset, not automatic ball in hand after a legal break.
Prevent unforced nine-ball errors for the full-rack L-P-S-R decision check.
Plan three-question nine-ball routes after the opening sequence becomes stable.
Score the first three decisions
Reset the original layout after the third decision or any foul. Run six layouts for fifty-four possible component points. Pocketing alone does not earn the control or useful-next-ball points.
| Point | Earn when |
|---|---|
| Legal | Cue ball first contacts the lowest ball without foul |
| Control | Cue ball avoids the named scratch and collision lanes |
| Useful | Next lowest ball has a full hit or the declared safety succeeds |
Use a standing FIRST check
| Letter | Question |
|---|---|
| F — First contact | Which ball must be contacted first? |
| I — Immediate danger | Which scratch, kiss or blocker matters now? |
| R — Route | Which broad side of the next ball is useful? |
| S — Safety | What controlled leave beats a forced offense? |
| T — Table change | Did the last shot change the plan enough to stand up? |
Diagnose where the rack is being lost
| Repeated loss | Next block |
|---|---|
| Legal point | Lowest-ball recognition and first-contact drill |
| Control point | Same shot with a larger cue-ball lane |
| Useful point | Choose next-ball side before entering stance |
| Decision changes while down | Mandatory stand-up restart |
| Traffic makes offense fragile | Score one safety route instead |
Worked transfer: stop treating the 1 ball as free
A hypothetical player pockets the 1 on five of six layouts but earns only two control points because the cue ball crosses the side-pocket danger lane. The next block enlarges the 2-ball landing zone and uses natural roll; pocketing practice is not the priority.
For game transfer, record only the first three decisions of three racks. Mark FIRST completion and which component failed. Do not continue note-taking while the opponent is at the table, and do not infer a universal break strategy from this fixed layout.
Sources and further reading
References support the specific factual information above. The practical checklists are Ariakon editorial guidance.