
Equipment guides · 4 min read
How to Choose a Pool Cue Case That Fits Your Equipment
A cue case succeeds when the equipment you actually carry fits without force, remains separated and can be transported comfortably. Begin with a written inventory and measurements. Then inspect the interior, pockets and carrying system. Finish with a dry acceptance test while the case is still returnable.
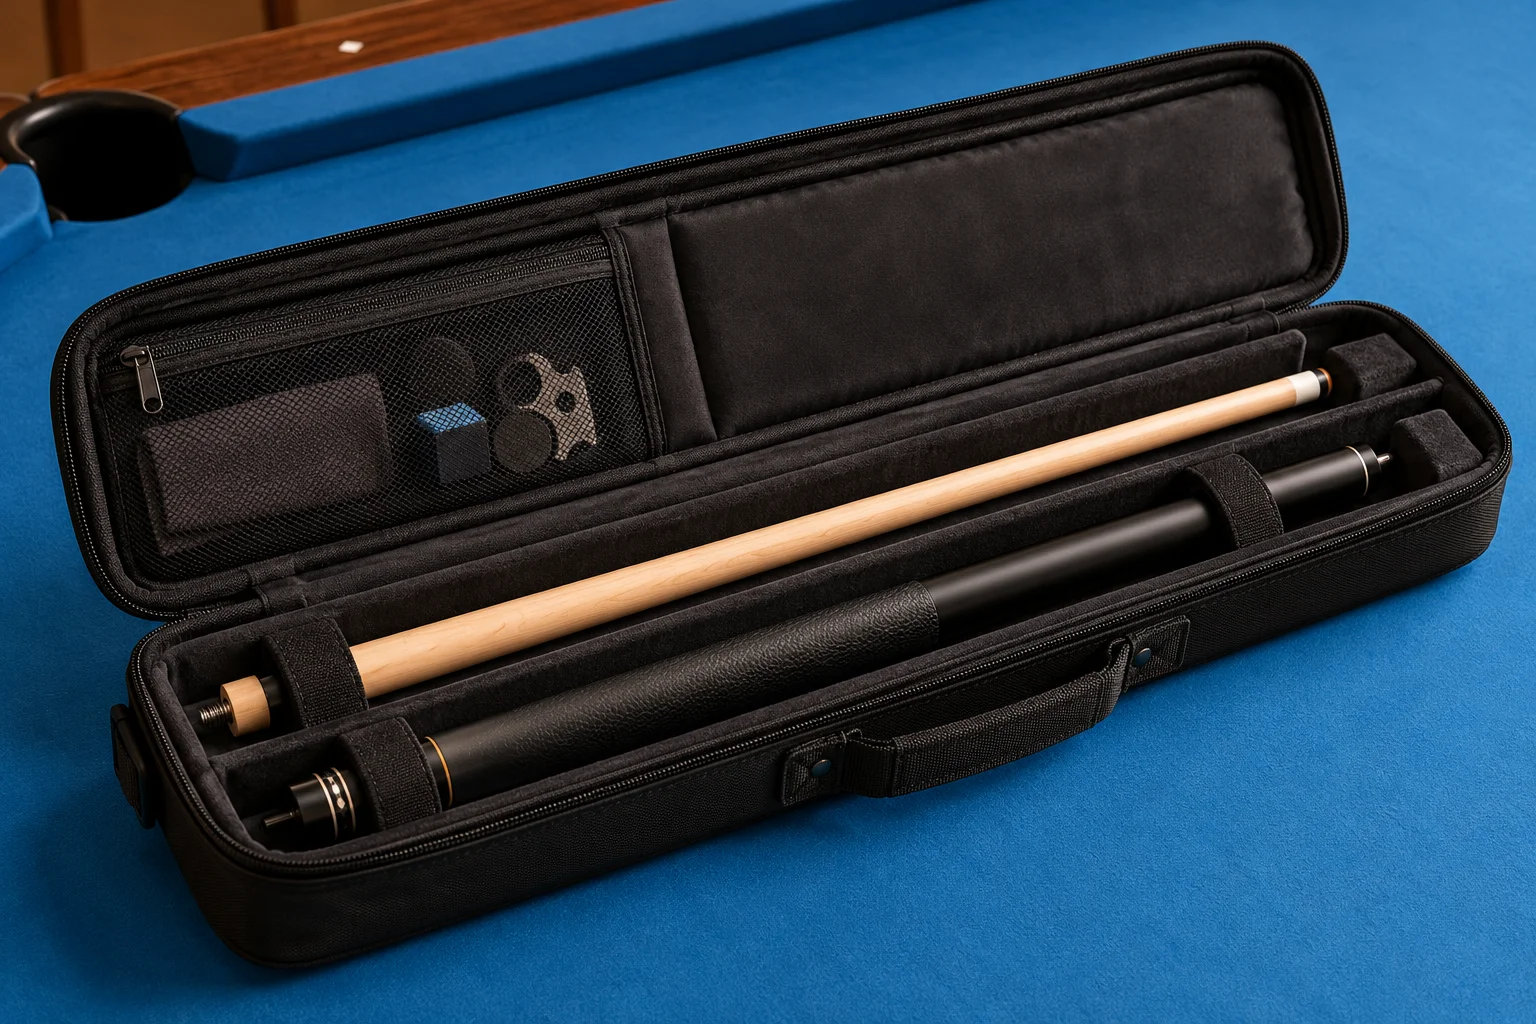
Translate the capacity label into real sections
A label such as 2 × 4 commonly describes two butt compartments and four shaft compartments, not six complete cues. Interior layouts differ, so confirm which section goes where and whether short pieces require a dedicated pocket or support.
List the playing butt, break butt, shafts, jump sections, extension and joint protectors separately. Mark each item required, optional or leave at home. This prevents a larger case from becoming an invitation to carry tools that never solve a match-day need.
| Item | Count | Longest protected length | Widest point | Assigned compartment |
|---|---|---|---|---|
| Cue butts | ___ | ___ | ___ | ___ |
| Shafts | ___ | ___ | ___ | ___ |
| Jump/extension sections | ___ | ___ | ___ | ___ |
| Small accessories | ___ | n/a | ___ | sealed pocket |
| Liquids or chalk | ___ | n/a | ___ | separate containment |
Measure the stored configuration, not the bare cue
Measure the longest section with the joint protector, bumper and any part that remains attached in storage. Compare it with the maker's usable internal length rather than the exterior height. Lid padding and compartment bottoms reduce usable space.
Measure the widest point of a butt or grip and note whether the case specifies a compartment diameter. Record measurements in one unit. NIST length guidance supplies the unit framework; it does not turn an outside case dimension into verified internal clearance.
| Gate | Pass condition | Failure signal |
|---|---|---|
| Length | Lid closes with no end pressure | Cue end touches or compresses lid |
| Diameter | Section enters and leaves gently | Binding, forced twisting or grip abrasion |
| Short pieces | Supported or retrievable as designed | Piece disappears below reach |
| Closure | Zipper or latch follows its path freely | Bulging load changes alignment |
| Separation | Hard cue surfaces do not rub | Sections contact during ordinary carrying |
Inspect protection from the inside out
Check the lining for grit, loose fasteners and sharp edges before loading equipment. Look for bottom support, separation between sections and a closure that cannot press directly on a cue end. A rigid exterior can help with bumps, but it does not prove that the interior fits or suspends each section safely.
Treat waterproof, impact-proof and airline-safe wording as claims that require defined test conditions. A padded shell and zipper do not establish protection from standing water, crushing or baggage handling. Choose a case for the hazards you can describe, not the strongest adjective on a listing.
Match the case to walking, driving and flying
As checked on October 13, 2026, the United States Transportation Security Administration lists pool cues as not permitted in carry-on bags and permitted in checked bags. The agency also states that the final checkpoint decision rests with its officer. Airline limits and international rules are separate, so verify the route and carrier before traveling.
This article selects a case that fits. Use the travel-case guide to compare walking, driving and flying risks, and the match-day packing guide to decide which accessories belong inside.
| Mode | Check | Separate guide |
|---|---|---|
| Short walk | Loaded handle balance and secure closure | General fit stays primary |
| Long venue day | Adjustable strap, stable attachments and floor footprint | Test while fully loaded |
| Vehicle | Supported position away from heat, moisture and loose cargo | Do not leave valuable cues in the vehicle |
| Air travel | Current security rule, airline size/fee rule and checked-bag protection | Verify again for each trip |
Choose a case for walking, driving or flying for a transport-mode risk comparison.
Pack a cue case for match day after capacity and fit are verified.
Run the twelve-minute acceptance test
Photograph any failed fit beside the recorded measurement and contact the seller before stretching, cutting or removing interior parts. Keep packaging until all required equipment passes.
A case with unused capacity can still be the right answer when it fits safely and carries well. Extra capacity is not a benefit when it adds unstable load or makes the case inconvenient enough to leave unzipped.
| Minutes | Action | Pass |
|---|---|---|
| 0–2 | Inspect empty lining, dividers, bottom and closure | No grit, sharp edge or loose part |
| 2–5 | Load every required section gently | Every item has a defined place |
| 5–7 | Close and reopen without compressing the load | Closure follows its normal path |
| 7–9 | Retrieve and replace each short section | No fishing, forcing or inversion |
| 9–11 | Carry by each intended handle or strap | Attachments remain stable and comfortable |
| 11–12 | Set it down and open it in a chair-width area | Case stays controlled and out of the walkway |
Keep the interior clean and the record current
- Keep chalk and abrasive tools in a closed pouch.
- Contain liquids away from cue compartments.
- Let damp equipment and fabric dry before closing the case.
- Follow the case maker's material and closure care instructions.
- Repeat the fit check when a longer shaft, grip, extension or protector is added.
Sources and further reading
References support the specific factual information above. The practical checklists are Ariakon editorial guidance.