
Pool table planning · 4 min read
Measure a Room for a Pool Table Before You Buy
The buying question is whether a proposed table position works in your real room with your intended cue—not whether its cabinet fits between walls. This survey separates playing surface, outside footprint, cue movement and delivery. A calculation narrows the choices; a full-height mock-up and installer review decide whether the plan is usable.
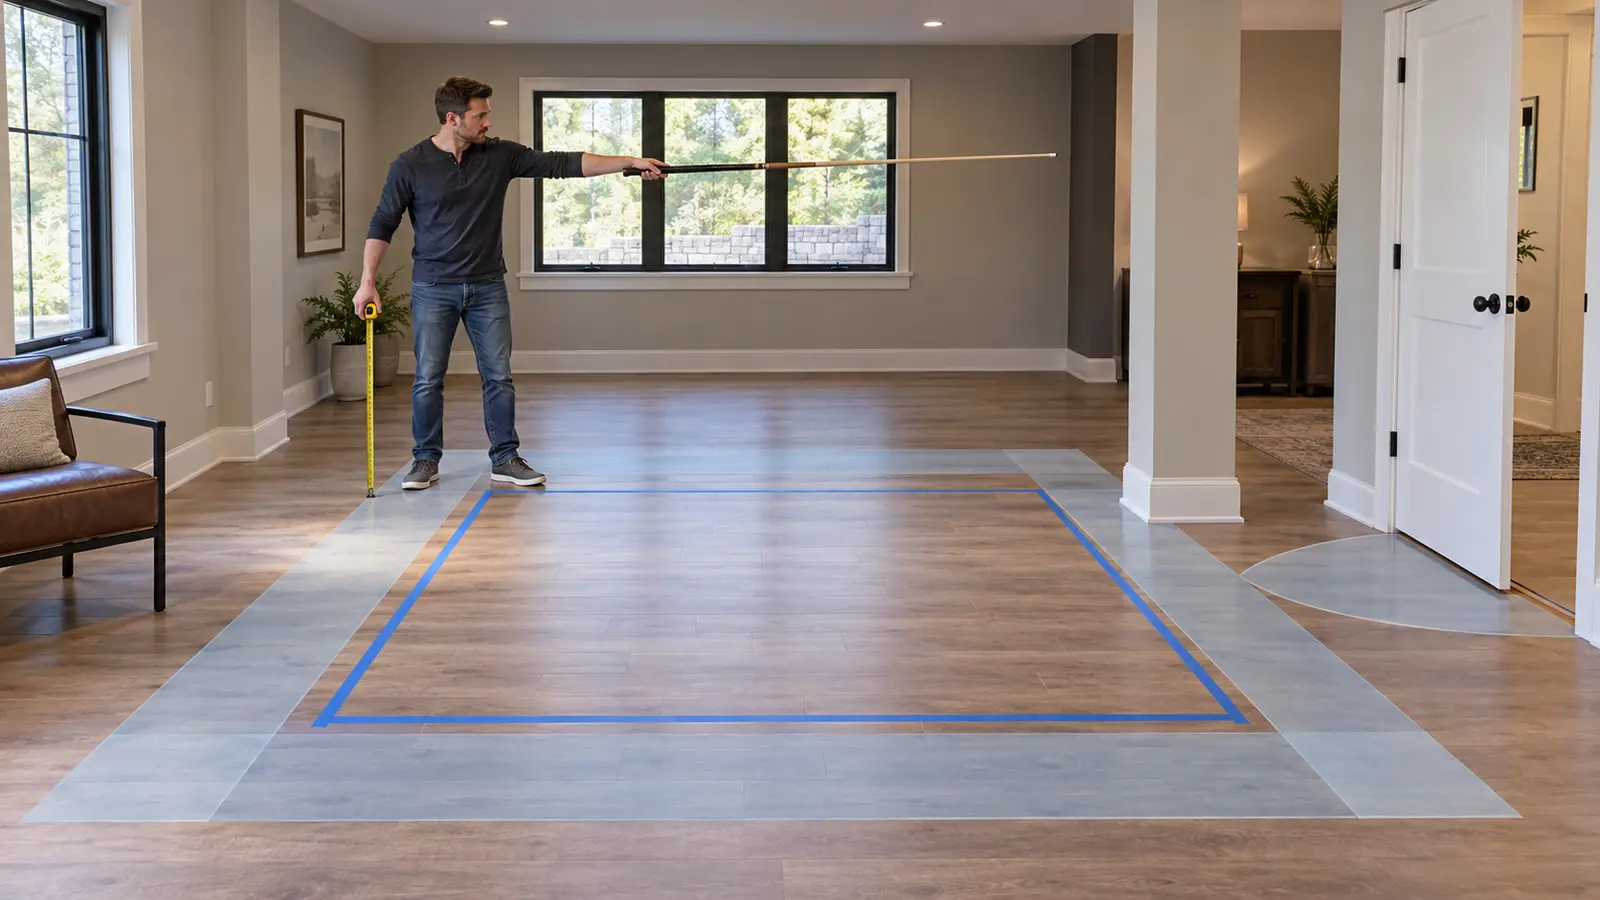
Measure four independent inputs
Take each room span twice, from the same references, and save both readings. Resolve discrepancies before rounding. The unit conversion is exact: one inch is 25.4 millimeters. Model dimensions and installation tolerances still require current documentation; a precise conversion cannot fix an uncertain input.
| Input | Record | Why separate it |
|---|---|---|
| Room R_L × R_W | Smallest usable clear span, measured at cue height | Skirting and projections can differ from wall-to-wall floor length |
| Playing area P_L × P_W | Actual cushion-nose-to-cushion-nose dimensions from the selected model | Nominal table labels are not a measured surface |
| Cabinet footprint | Actual outside length, width and leg locations | Delivery, furniture and service use different boundaries |
| Cue Q and reserve B | Longest intended cue; chosen extra backward-stroke allowance | A static cue-length rectangle omits movement allowance |
Identify table boundaries to distinguish cushion noses, rails and cabinet.
Calculate a conservative first screening rectangle
For this worksheet, the required span is P_L + 2(Q+B) by P_W + 2(Q+B). B is a user-chosen reserve for backward cue movement, not an official minimum or building code. The construction is deliberately conservative: it starts from the playing-area boundary and reserves the full cue plus B on every side. Actual stance, bridge, cue angle, rail height and obstacles still need testing.
For an axis-aligned table centered at coordinate x in an unobstructed rectangular room, the length-axis center must lie between P_L/2+Q+B and R_L−(P_L/2+Q+B). Use the corresponding width interval for y. An empty interval means no shift of that orientation can supply the assumed clearance on both sides. Rotating the table creates a different plan that must be measured again, not a free clearance gain.
Work the arithmetic before moving furniture
For the 58 inch cue, the feasible x interval is [112,120], but y is [87,81], which is empty. For the 54 inch cue, x is [108,124] and y is [83,85]. The two-inch total width surplus leaves only one inch on each side beyond the chosen allowance when centered; it is not seating or walkway space.
The second row is a compromise, not proof of full-length play. Record who would need the shorter cue and where. A chair, door swing or column can invalidate either calculation. The figures are a worked planning example, not a table manufacturer’s room chart.
| Cue and reserve | Required length × width | Remaining length × width | Interpretation |
|---|---|---|---|
| Q=58, B=4 inches | 224 × 174 inches | 8 × −6 inches | Width fails; shifting cannot recover six missing inches |
| Q=54, B=4 inches | 216 × 166 inches | 16 × 2 inches | Only the shorter-cue assumption fits the empty rectangle |
Build an obstacle map at the working heights
Tape both the playing area and cabinet outlines. With the installer’s proposed bed and rail heights, create safe stable reference heights without climbing or balancing on furniture. Hold the actual cue in a normal stance and make slow air strokes at each rail center, each near-corner position and every mapped obstruction. Check additional directions beside obstructions; a single perpendicular stroke is insufficient. Keep other people out of the cue path.
| Object | Record | Required check |
|---|---|---|
| Column or projection | Bounding x/y coordinates and height range | Cue, bridge hand and stance near both sides |
| Door or cupboard | Closed location, full swing envelope and handle projection | Open position plus safe access during play |
| Furniture | Occupied chair footprint, not just empty chair legs | Do not require spectators to move for routine shots |
| Ceiling object | Lowest point and projection over the playing area | Raised cue and lighting clearance under maker instructions |
| Service route | Doors, stairs, turns, thresholds and proposed access | Installer verifies component delivery and future servicing |
Send an acceptance packet rather than a room label
The packet has six required fields: room readings; current model surface and footprint; Q and B; obstacle map; full-height checks with every failure recorded; delivery/service confirmation. All six must be present for a complete planning record, but six entries do not certify playability. A failed clearance or delivery check blocks the order until placement or table choice changes.
If the hypothetical room fails with the intended full-length cue, the next action is a smaller playing area or a different room plan. Do not conceal the failure by reporting only the shorter-cue row. Save the exact placement drawing for the installer and recheck after furniture or door hardware changes.
Compare table-size compromises after the room survey identifies what fits.
Plan the wider home room for amenities once the measured play and access envelope is established.
Sources and further reading
References support the specific factual information above. The practical checklists are Ariakon editorial guidance.