
Equipment guides · 4 min read
How Pool Cues Are Built: A Stage-by-Stage Inspection Guide
A pool cue is a coaxial assembly: every visible and hidden component must support the same straight centerline while meeting the maker's intended weight, balance, stiffness and finish. Construction varies, so this guide follows the control questions at each stage rather than assigning one factory method to all cues—or claiming how Ariakon cues are manufactured without documentation.
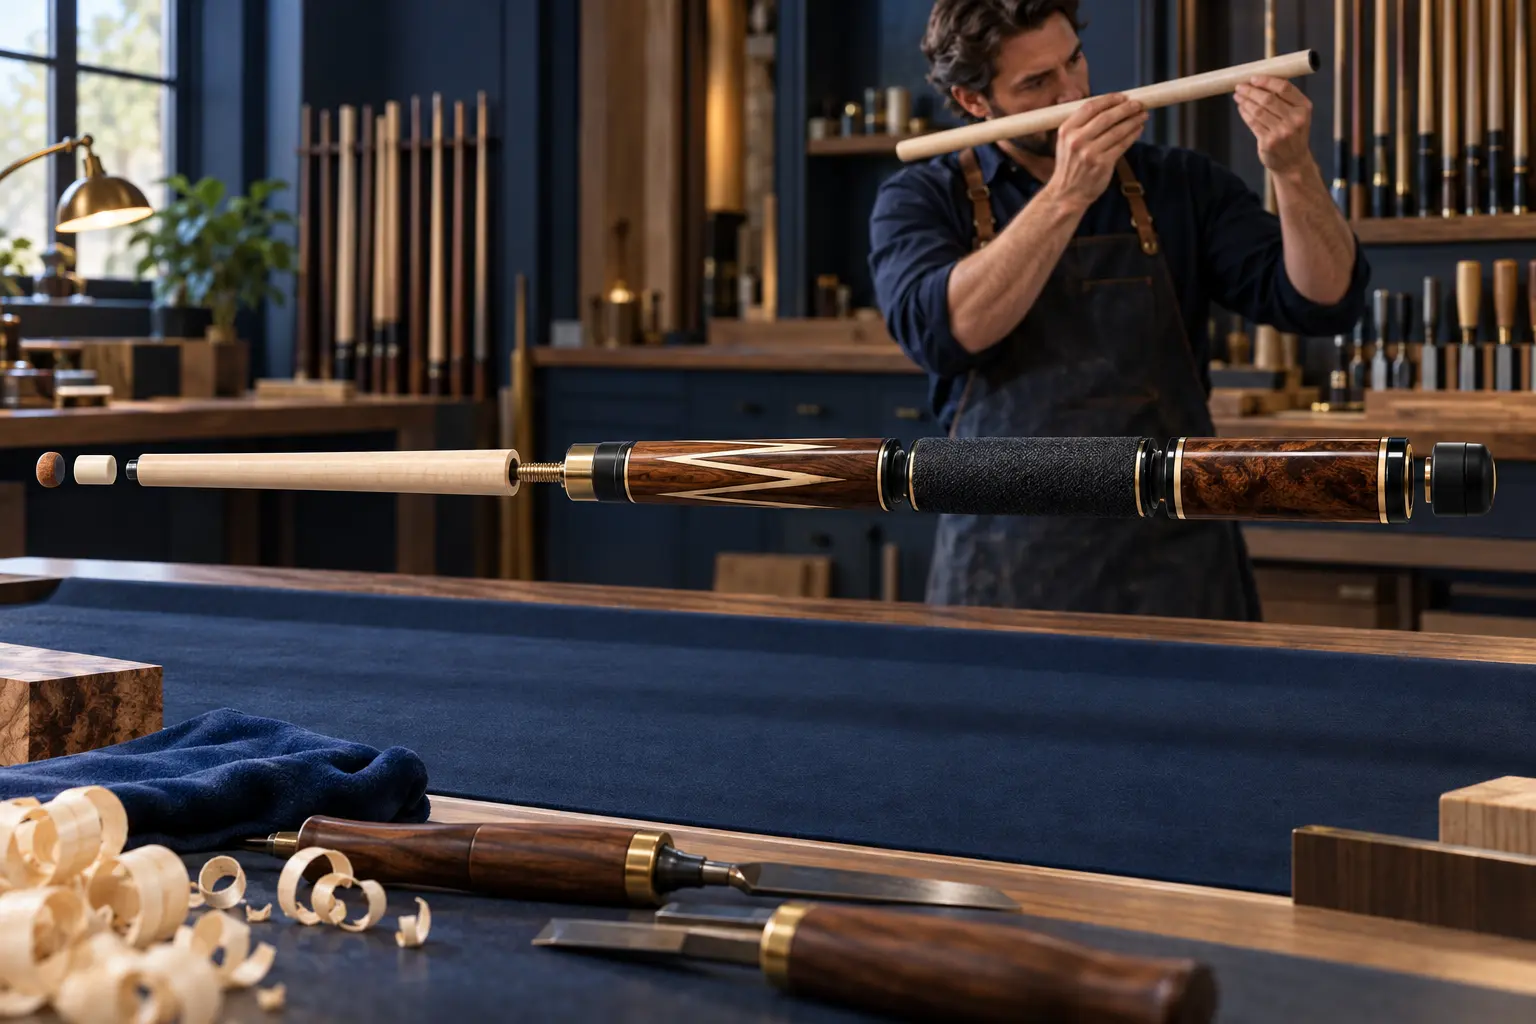
Stage 1 — condition and sort the material
Wood exchanges moisture with its environment and changes dimension as moisture content changes. The USDA Wood Handbook documents those general material relationships. Cue stock therefore benefits from controlled storage, staged work and rejection of pieces that move or reveal defects; the handbook does not certify any individual cue blank.
Composite tubes, laminates and metal parts follow different material controls. Record what is known for the exact cue instead of translating a wood process into a composite claim.
| Cue area | Visible material | Hidden construction | Evidence status |
|---|---|---|---|
| Shaft | ___ | solid / laminated / hollow / unknown | documented / observed / unknown |
| Forearm | ___ | solid / spliced / sleeved / cored / unknown | ___ |
| Handle | ___ | wrap base or exposed structure | ___ |
| Butt sleeve | ___ | decorative sleeve / structure unknown | ___ |
| Joint and bumper | ___ | insert, weight and attachment unknown | ___ |
Stage 2 — establish the centerline through staged turning
A maker brings shaft and butt components toward their final diameters while checking concentricity. Removing material in stages gives a wood part opportunities to reveal movement before the last profile and finish are applied.
Taper is the diameter profile along the length. It can change bridge feel and flex, but its name alone does not establish squirt, accuracy or quality. Inspect the finished profile with repeatable diameter stations rather than a label.
Map a shaft taper to bridge and stroke for a measured profile and controlled trial.
Stage 3 — assemble the impact end
The current international equipment specification limits tip material for covered competition use to leather or another fibrous or pliable material that will not damage the addressed ball. That rule is not a manufacturing recipe. Pads, plates, ferrules and hollow structures remain model-specific service boundaries.
| Part | Job | Visible check | Do not infer |
|---|---|---|---|
| Tip | contacts cue ball | centered dome and closed bond line | exact hardness from color |
| Pad or plate | model-specific layer | present when documented | safe removal |
| Ferrule | supports transition where used | centered, intact and flush | material from appearance |
| Shaft front | carries load and profile | round transition without damage | hidden wall or core |
Stage 4 — align the joint and butt assembly
The pin, insert, collars and joint faces must bring the two halves together on one axis without a step, rocking face or forced thread. Inside the butt, a maker may use solid sections, splices, sleeves, cores, rings and weight hardware in many combinations.
An outside point or ring can reveal workmanship at the surface, but it does not prove the hidden core. Keep visible observations separate from maker documentation in the cue record.
Name cue parts and record compatibility when the task is replacement or fit rather than construction sequence.
Evaluate shaft and decorative wood roles when a listing names multiple materials.
Stage 5 — finish, protect and inspect
- Sight each separated component against an appropriate straight reference without rolling a wrapped butt as if it were a cylinder.
- Assemble the cue gently and inspect both joint faces for full closure.
- Rotate under raking light and watch the tip, ferrule and shaft centerline rather than a decorative point alone.
- Feel for sharp rings, lifted inlays, open glue lines or a finish ridge without scraping the surface.
- Confirm bumper and visible hardware are secure; do not probe hidden weight hardware.
- Record weight and balance only as complete-cue observations, not proof of the internal build.
Use a twelve-point completed-cue inspection
Award one point for each check that is complete and free of the stated concern. Twelve points means the visible inspection is complete; it does not certify hidden construction. Any stop condition overrides the score and calls for documentation or qualified service.
When comparing cues, use the same inspection sequence and write unknown for hidden facts. That is more trustworthy than filling a hidden field from a photograph or a family reputation.
| Pass | Four checks | Score | Stop condition |
|---|---|---|---|
| Axis | tip, ferrule, shaft, joint | 0–4 | visible damage or opening |
| Surface | finish, rings, points, wrap | 0–4 | sharp edge, lift or crack |
| Assembly | faces, threads, bumper, sound | 0–4 | force, rock, movement or rattle |
Sources and further reading
References support the specific factual information above. The practical checklists are Ariakon editorial guidance.