
Eight-ball strategy · 2 min read
Build Alternative Eight Ball Patterns Before Choosing One
The first workable route is not automatically the best route. Before you shoot, build three complete candidates to the 8, identify each route's narrowest transition and select with evidence. The exercise trains comparison, not memorization of one diagram.
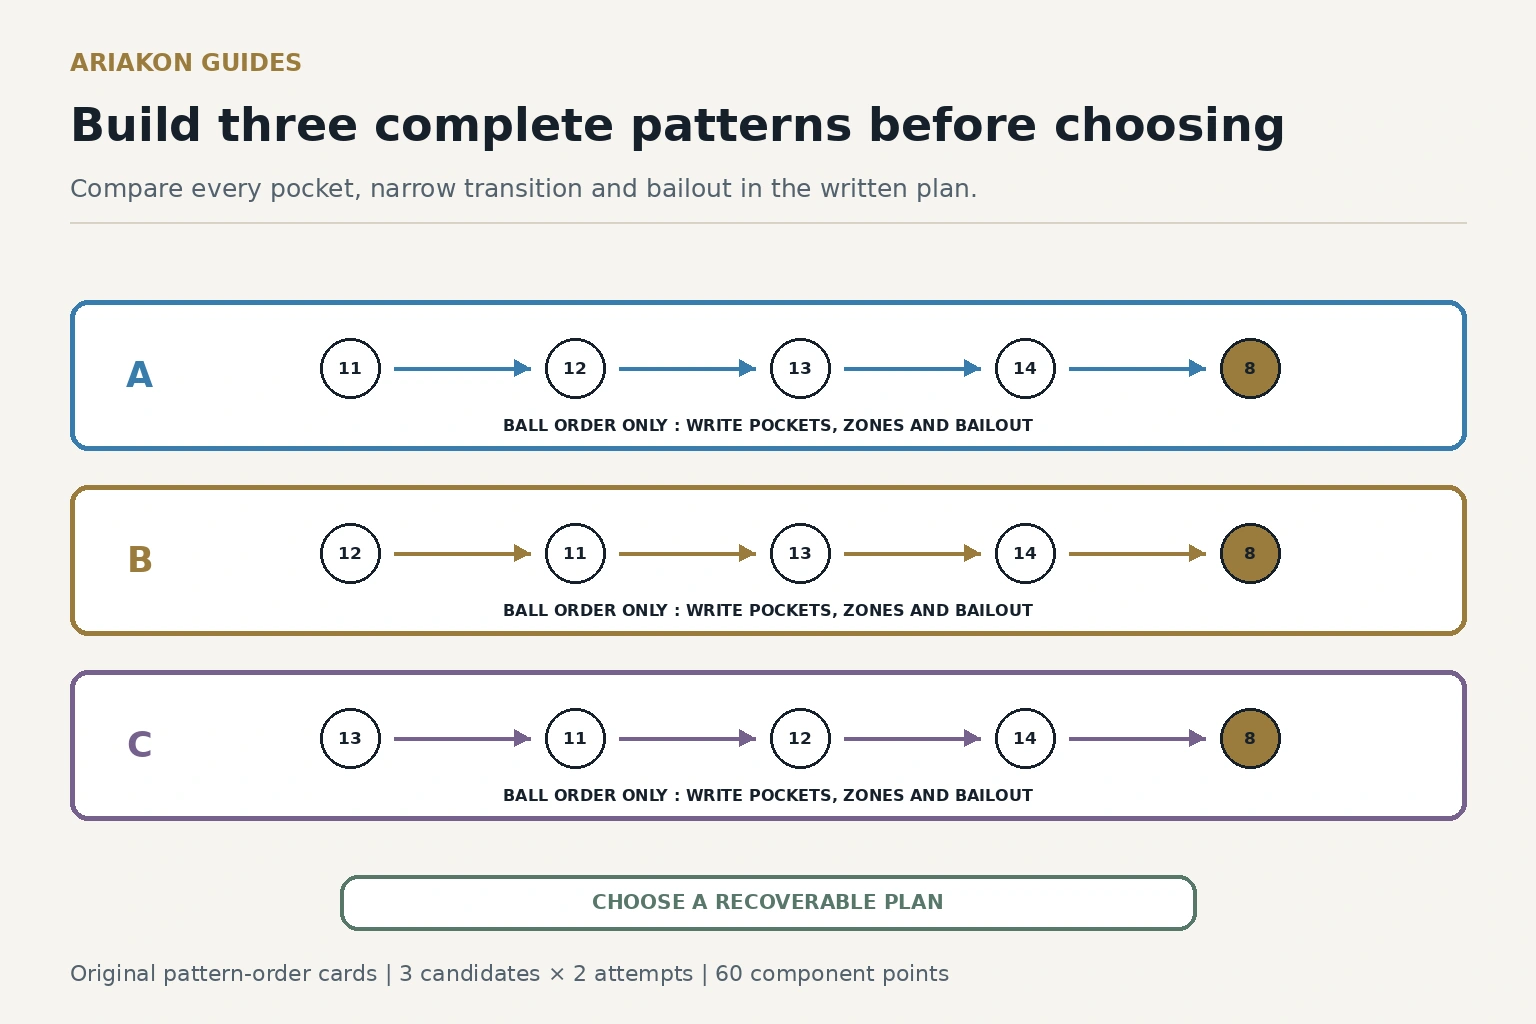
Mark one layout and three candidates
Use the foot-left corner as (0,0), four diamonds across and eight along the long rail. Place four already-assigned stripes: 11 at (0.8,6.2), 12 at (2.8,5.5), 13 at (1.3,3.4) and 14 at (3.1,2.2), the 8 at (2.0,1.1), and the cue ball at (2.0,7.0). Choose the foot-right corner for the 8. Use removable markers and return every ball after each attempt.
On paper, write candidates A, B and C as complete four-ball orders before the 8. For each, name every pocket, the key ball to the 8, the narrowest cue-ball zone and one bailout if that zone is missed. Reject a candidate with a blocked legal pocket rather than silently repairing it after the first shot.
Use the broader eight-ball decision guide to evaluate groups, problem balls and safeties.
Estimate runout risk before committing when the go/no-go choice is the main question.
Score all three plans before choosing
A miss ends pocket scoring for that attempt, but still award the plan and diagnosis points when earned. Compare both score and failure location. A route with fewer early pockets but a broad key-ball zone may be a better game choice than a route whose only success required one perfect leave.
| Component | Points |
|---|---|
| Plan fixed | 1: complete order and pockets written before shooting |
| First three stripes | 3: one per legal pocket |
| Key ball | 1: retained until its declared turn |
| Key-ball arrival | 1: cue ball reaches its marked start zone |
| Fourth stripe and 8 | 2: one per legal pocket |
| Control | 1: no foul or unplanned collision |
| Diagnosis | 1: first failed transition named, or complete with no failed transition recorded |
| Maximum | 60: three candidates × two attempts × ten |
Worked comparison and transfer
A hypothetical player scores A: 15/20, B: 12/20 and C: 15/20. A fails twice on the same side-pocket speed window; C completes once and its miss leaves the key ball available. C is the choice because its failure is recoverable, not because its total is higher.
For transfer, scatter four of your group plus the 8 in an open-rack position. Take 45 seconds to write two complete candidates, circle the narrowest transition in each, then choose. Play six racks and record whether the chosen route survived the first miss. The current WPA rules define the legal game; this 60-point worksheet is an original practice measure, not an official rating.
Sources and further reading
References support the specific factual information above. The practical checklists are Ariakon editorial guidance.