
Eight-ball strategy · 2 min read
Choose the Key Ball to the Eight Before Your First Shot
A key ball is useful because of the angle it creates on the 8, not because it happens to sit nearby. Choose the 8 pocket and entry line first, select the ball that supplies that line, then choose the ball that supplies the key ball. Only then plan the opening shot.
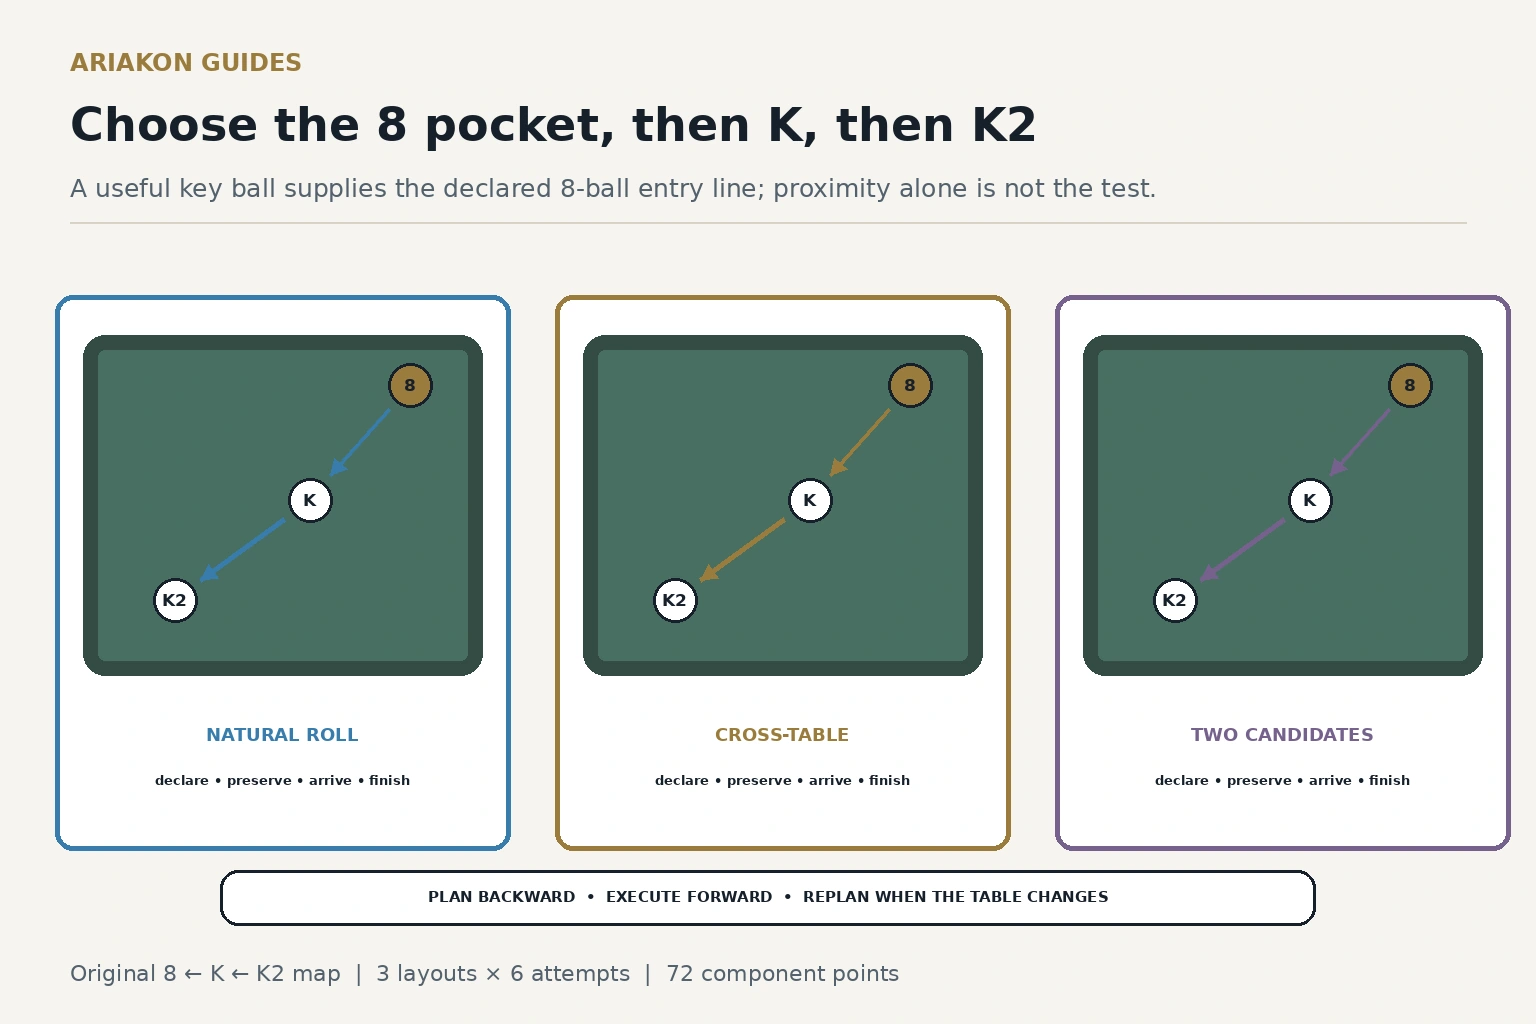
Build backward before touching the cue ball
For each layout, write 8 pocket → key ball (K) → key-to-key ball (K2). Draw a cue-ball arrival zone for K at least one diamond wide when the table allows. Keep K and K2 on the table until their declared turns; pocketing either early cancels the plan even if the remaining balls can still be made.
Use three open end-game layouts of two remaining assigned-group balls plus the 8: Layout 1 has a natural rolling key-ball angle, Layout 2 requires crossing the table into a broad zone, and Layout 3 offers two plausible key balls. Mark every position so all six repetitions of a layout are comparable.
Review complete eight-ball strategy for problems, groups and safety choices.
Compare alternative full patterns when several complete routes remain viable.
Run 18 scored attempts
Start with ball in hand before K2. After six attempts, move to the next layout; do not keep retrying the favorite shape. Record the first lost component as declare, preserve, arrive or finish. This separates a weak plan from execution that never delivered the planned angle.
| Point | Observable condition |
|---|---|
| 1 — Declare | 8 pocket, entry line, K and K2 written before the first shot |
| 1 — Preserve | K and K2 remain until their declared turns |
| 1 — Arrive | Cue ball enters the marked K zone |
| 1 — Finish | 8 is pocketed legally in the declared pocket |
| Maximum | 72 points over 18 attempts |
Worked example and rack transfer
A hypothetical player scores 22/24 on Layout 1, 15/24 on Layout 2 and 17/24 on Layout 3. In Layout 2, K remains available but the cue ball reaches its zone only twice. The next action is a six-shot K2-to-zone speed block; changing the key ball would hide the diagnosed transition.
In three ordinary racks, pause before your first committed runout shot. Name the 8 pocket, K and K2, then play normally. If traffic or an opponent's turn changes the table, make a new current-state plan. This backward map is a decision practice tool, not an official rule or promise of a runout.
Sources and further reading
References support the specific factual information above. The practical checklists are Ariakon editorial guidance.