
Fundamentals · 3 min read
Build a Pool Priorities Checklist for Aim, Delivery, Speed and Decisions
Aim, delivery, speed and decisions interact, so a miss does not identify its own cause. This guide uses one registered layout and four diagnostic passes to separate those priorities. The practical-training guide balances a whole week; this checklist identifies which component deserves the next focused block.
Mark the three-ball reference layout
Place the 1 ball one diamond from the lower-left corner pocket on a half-ball cut. Put the cue ball near the table center and place the 2 ball one diamond above the opposite side pocket. The intended route pockets the 1, sends the cue ball into a one-diamond position box for the 2 and leaves a natural path to a third ball near the upper-right corner.
Photograph or diagram the marks, record table conditions and use the same pocket. The layout is a diagnostic reference, not a claim that one pattern is best in every game.
Build the broader training plan after the checklist identifies a priority.
Diagnose repeated misses when one component remains unstable.
Use the A-D-S-D standing checklist
Complete the checklist while standing. If a decision changes after lowering, stand up and restart. Do not whisper four mechanical instructions during the stroke; the list organizes the plan, while execution uses at most one familiar cue.
| Priority | Question | Observable check |
|---|---|---|
| Aim | What pocket-entry line is required? | Contact and pocket are named |
| Delivery | What cue path and finish carry the cue through contact? | One delivery cue only |
| Speed | Where must the cue ball stop? | Zone and speed band are named |
| Decision | What miss and next-shot risk am I accepting? | Route or safety is chosen before stance |
Run four six-shot diagnostic passes
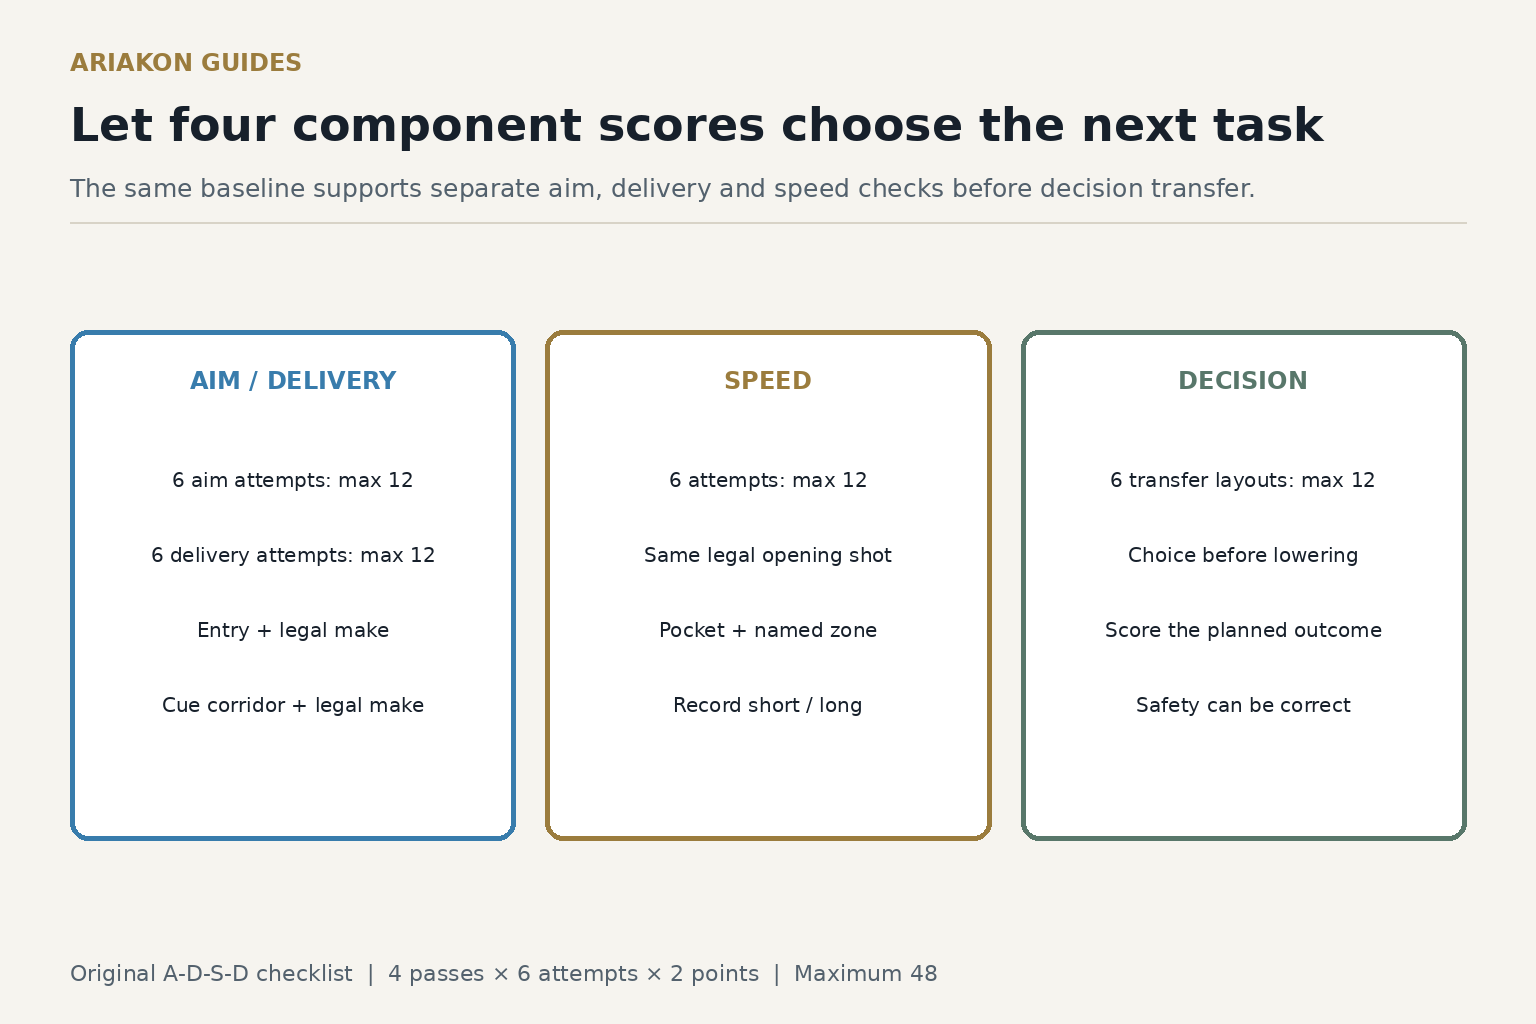
Each pass has twelve available points. Reset balls exactly for the first eighteen shots. For transfer, move one blocking ball or cue-ball mark according to a prewritten card; a correct safety rejection can earn both decision points.
| Pass | Controlled focus | Score per attempt |
|---|---|---|
| Aim | Pocket 1; ignore position-box score | Called pocket entry + legal pocket |
| Delivery | Same aim and pocket speed | Cue crosses finish gate + legal pocket |
| Speed | Same route; score position | Legal pocket + cue ball in zone |
| Decision transfer | Choose attack or safety from six nearby layouts | Choice named + planned outcome reached |
Read miss patterns before changing technique
| Pattern | Likely next test | Do not assume |
|---|---|---|
| Pocket-entry errors; delivery gate stable | Aim or visual-reference block | The stroke is broken |
| Gate errors on both makes and misses | Straight-line delivery diagnostic | The aim caused every miss |
| Pocket stable; zone consistently long | Speed-calibration block | More sidespin is required |
| Execution stable; route choice costly | Decision and safety comparison | Shot-making volume solves selection |
Worked score and game transfer
A hypothetical player scores Aim 10/12, Delivery 11/12, Speed 6/12 and Decision 9/12. Four of six speed misses finish beyond the zone. The next two sessions use center-ball speed ladders; aim and delivery are maintained, not rebuilt.
During a rack, the same player faces a thin 1 ball with a small position window and a simple containing safety. Standing A-D-S-D shows the make is plausible but the required speed is outside the current reliable window. Choosing the safety is successful transfer even though no ball is pocketed.