
Pattern play · 3 min read
Build a Pool Pattern From the Last Ball Backward
Forward planning asks what can be pocketed now. Backward planning asks what position makes the final important shot easy, which ball can deliver that position, and how to reach that key ball with margin. The result is not a script that survives every miss. It is a testable starting pattern with a clear reason for each transition.
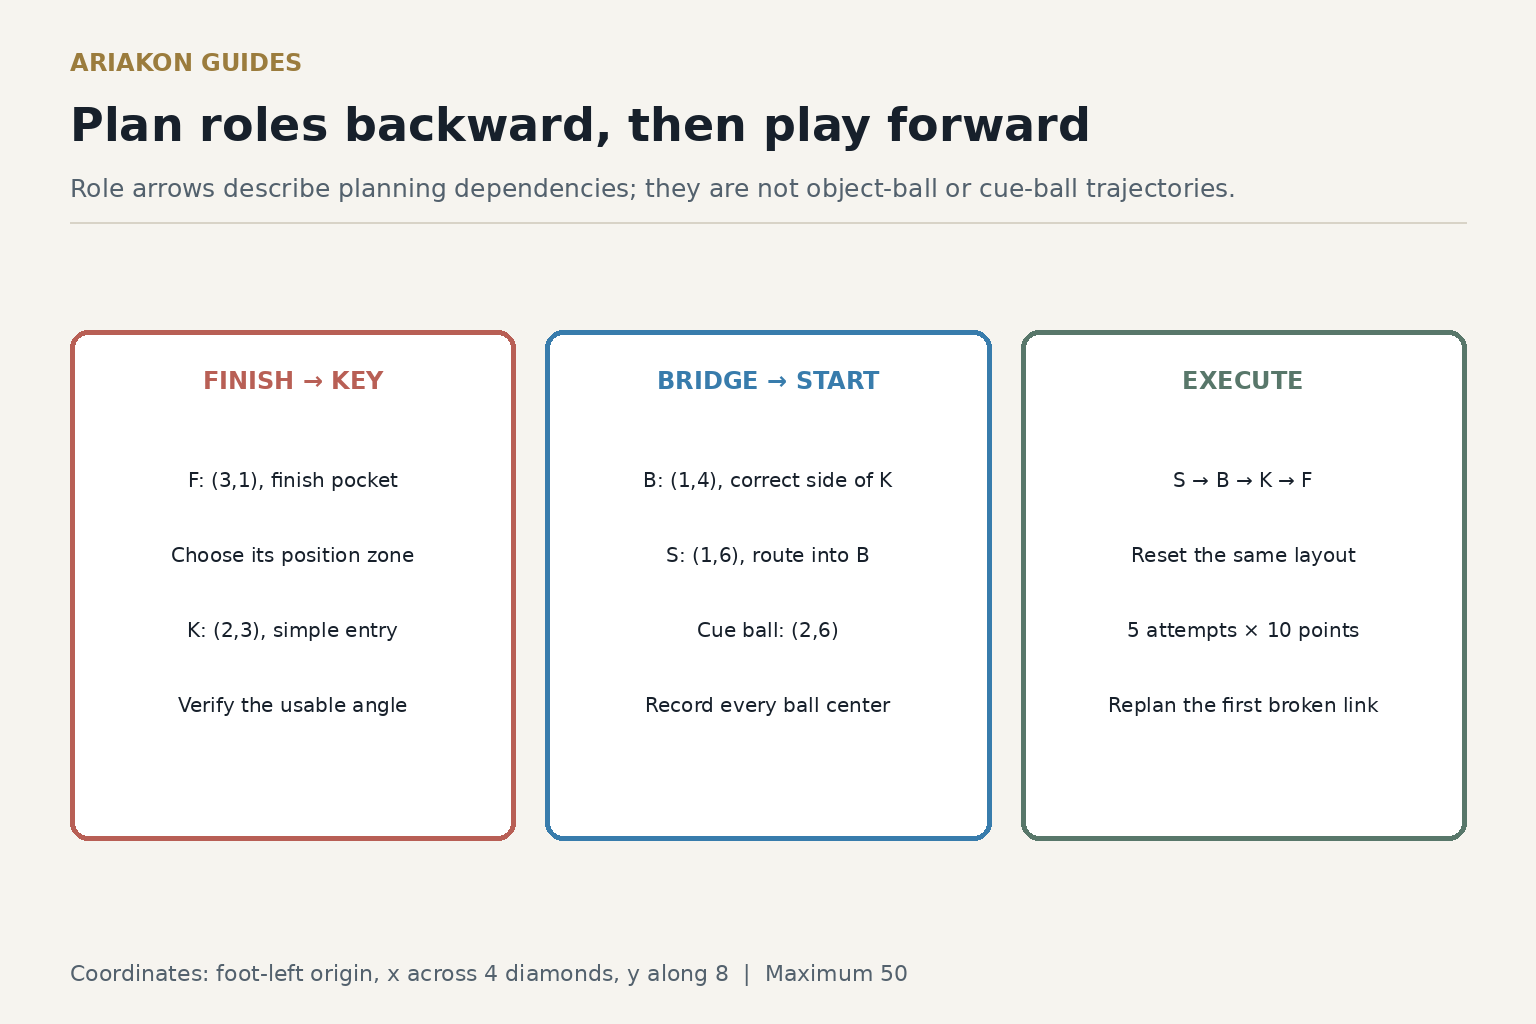
Name four roles before naming the order
Choose the finish pocket and draw a position zone for it. Work backward one transition at a time. If the key ball demands a tiny angle or forced spin, replace it before continuing. A ball is not a key ball merely because it sits near the finish.
The broad pattern-play guide covers problem balls, zones and route risk. This worksheet isolates the backward construction itself and scores whether the written plan survives an exact reset.
| Role | Question | Worksheet mark |
|---|---|---|
| Finish ball | Which ball and pocket complete the pattern? | F |
| Key ball | Which ball gives the simplest route into the finish zone? | K |
| Bridge ball | Which ball reaches the correct side of K? | B |
| Start ball | Which remaining first shot reaches B with margin? | S |
Review broad pattern-play principles before assigning the four roles.
Complete each shot decision before beginning delivery while executing the pattern.
Set one reproducible four-ball layout
Use the diamond grid with the foot-left corner as (0,0), four diamonds across the short rail and eight along the long rail. Place F at (3,1) for the foot-right corner, K at (2,3), B at (1,4), S at (1,6) and the cue ball at (2,6). Adjust by no more than one ball width if a table pocket or spot blocks a marker, then keep that adjusted layout for all five attempts.
Before shooting, write the order backward: F pocket and finish zone, K route to F, B route to the correct side of K, then S route to B. Execute S-B-K-F. Use center-ball routes first; add sidespin only if the written pattern identifies why the natural route is insufficient.
Score both the plan and the run
| Points | Observable requirement |
|---|---|
| 1 | Finish ball and pocket locked before the first shot |
| 1 | Finish position zone marked |
| 1 | Key ball selected with a simple route |
| 1 | Bridge and start roles written |
| 1 | S is pocketed |
| 1 | B is pocketed from a playable leave |
| 1 | K is pocketed from the intended side |
| 1 | Cue ball reaches the finish zone |
| 1 | F is pocketed |
| 1 | No unplanned collision or scratch |
| Maximum 50 | Five complete resets |
Replan from the first broken link
| First broken link | Revision |
|---|---|
| S cannot reach the planned side of B | Change the start route, not the finish |
| B repeatedly leaves K straight | Enlarge or move the B landing zone |
| K-to-F needs forced speed | Choose a different key ball or finish pocket |
| Plan works only with exact dots | Replace dots with usable zones and rescore |
| Execution leaves the written zones but a better pattern appears | Replan from the actual table; do not force the old order |
Worked backward plan and game transfer
A hypothetical player writes F to the foot-right corner, K as the two-diamond central ball and a one-diamond-long finish zone. The first two attempts fail because B leaves the cue ball straight on K. Moving the B target half a diamond to the left enlarges the K-to-F angle; the next three attempts reach the finish zone twice. The revision changes one link and preserves the reason for the pattern.
For transfer, use four balls legally available in the chosen practice game. Take a photo, write F-K-B-S in sixty seconds and play the pattern once. Then reset from the photo and test one alternative key ball. Compare the size of the usable finish zone and the number of successful transitions; proximity to the finish ball alone does not make a good key ball.