
Pool strategy · 5 min read
When a Pool Pattern Fails: Switch From Offense to Safety
A pattern does not remain correct after the cue ball misses its position zone. The next decision must compare a new offensive route with a deliberate safety. Switching is not giving up; it is protecting the inning when the original plan no longer has a reliable continuation.
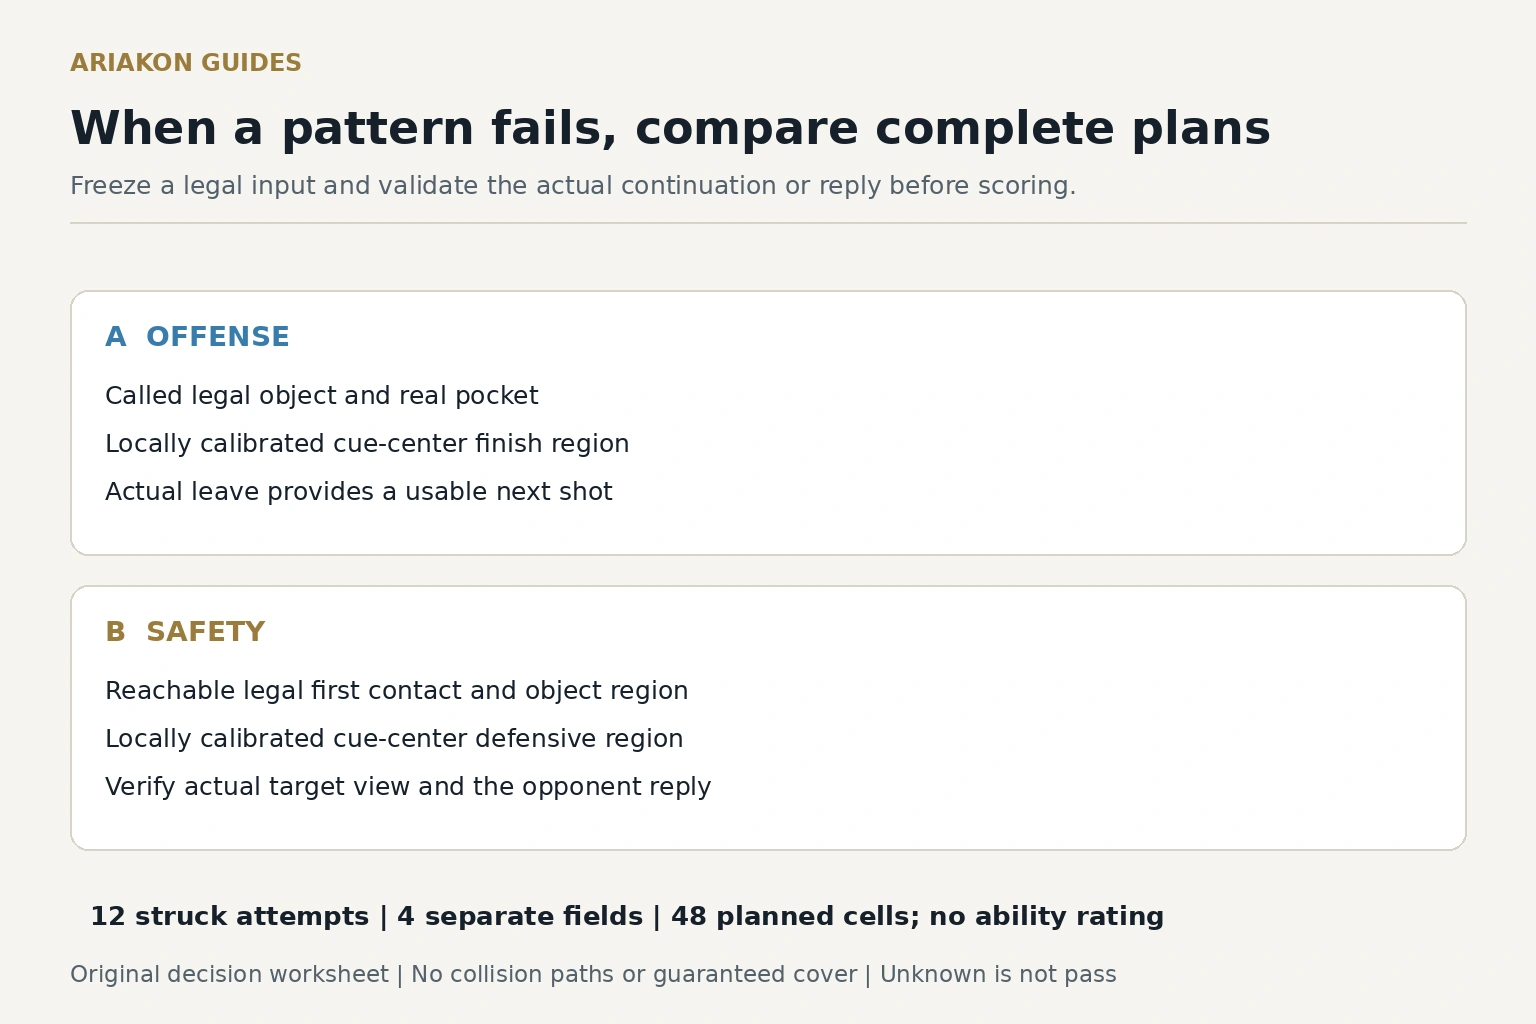
Declare that the original route is over
Stop carrying the old plan forward when the next ball is blocked, the cue ball finishes on the wrong side, the required speed becomes extreme or the miss gives the opponent an open table. Stand up, identify the legal object ball and rebuild the decision from the current layout.
Do not use the safety option merely to escape uncertainty. Name the intended cue-ball finish, object-ball finish and opponent's likely reply. A vague defensive shot is not automatically better than a difficult offensive shot.
Plan the original pool pattern before learning how to respond when its position window is missed.
Use a four-question switch test
| Question | Continue offense when | Switch when | Evidence |
|---|---|---|---|
| Can I pocket the ball? | Make percentage is within practiced range | Pocketing requires an untested cut, bank or elevation | Comparable practice score |
| Can I reach the next zone? | Position route has usable speed and angle margin | Only a tiny or collision-dependent zone continues | Named target boundary |
| What does the miss sell out? | Common miss still leaves distance, cover or difficulty | Common miss leaves an open starter and route | Miss-side diagram |
| Can the safety be executed? | Safety offers no clearer result | Legal contact, cover or distance can be called | Object-ball and cue-ball endpoints |
Build the exact practice layout
Use ball-center coordinates on an illustrative 100×50-inch bed represented by 8×4 units, origin lower-left at the cushion noses. Equal 2.25-inch balls have radius 0.09; center boundaries at intact cushions are x=0.09 or 7.91 and y=0.09 or 3.91. Pockets interrupt the four corners and the side midpoints. Scale to actual equipment and inspect jaws, room clearance and all ball diameters before play.
For a WPA eight-ball-shaped practice state, assign solids to the shooter. Set cue C=(5.122716,1.834636), legal 1-ball O=(6,3), own 2-ball N=(3,1), opposing 9-ball blocker B=(4,2.8), and 8-ball at (1.2,3). Treat other objects as pocketed. Route A calls the 1 to real upper-right corner P=(8,4), whose ideal tangent cue center is G=(5.839003,2.919502). N, B and the 8 do not obstruct this first approach or object line. Subsequent position is still an observed task.
Before scoring, take up to two declared calibration strikes for A and two for a legal safety candidate B. For A write a cue-center finish region that actually gives a comfortable next shot on N. For B select a reachable legal first contact, a called object-ball region and a cue-center region whose actual resting result hides or distances the required next target. Do not prescribe an unmeasured postimpact ray, assume cover from two endpoints, or aim a ball center at a cushion nose. Verify the opponent view from the actual finish after each trial.
If either candidate has no controlled usable version, mark it unavailable and simplify a separately labeled layout before comparing both. Freeze each candidate’s observed input and region boundaries before scored attempts. The diagram is a decision card, not a collision or safety simulation.
Run a twelve-attempt decision progression
Allocate four A attempts, four B attempts and four choice attempts from the same frozen initial layout: twelve struck attempts if completed, plus up to four declared calibration strikes. In choice attempts select A or B before address and write why; do not vary cue-ball position during a supposedly matched comparison. Reset every ball after each strike. Rest or stop whenever control or comfort fails.
Keep four independent binary fields per attempt: a complete pre-shot decision record; an established legal result; the primary called job (legal called pot for A, legal object-region outcome for B); and the legal cue-center finish meeting its already validated continuation or defensive purpose. Twelve attempts give 48 possible recorded cells, sixteen per block. This is a process/outcome ledger, not a 48-point ability rating. Unknowns remain listed and outside observed denominators; a foul never earns an execution field.
A miss can leave a fortunate result without validating the original choice. Record its actual cost in notes rather than awarding a point from an imagined common miss. After B, verify actual target visibility and let a partner test the legal reply when practical. A favorable region alone does not prove a useful safety.
Practice safety outcomes with an opponent reply after the isolated switch decision is repeatable.
Diagnose the decision and execution separately
If the decision record supports the chosen route but the actual cue finish fails, retain that decision evidence and inspect the execution separately. A good-looking pot with an unusable continuation is not a passed offensive plan. If both candidates fail repeatedly, simplify the layout and create a new frozen version instead of moving balls during the scored block.
A made offensive ball does not prove the decision was sound when the cue ball has no continuation. A hidden cue ball does not prove the safety was legal when the wrong ball was contacted first.
Transfer the switch into real racks
Play ten racks and mark every time the cue ball leaves the intended position zone. Before the next shot, write A for continued offense or S for safety and one sentence of evidence. Score the decision before seeing the outcome.
Review whether the choice protected the table, not whether it happened to win the rack. Match score, inning count and opponent ability can change the threshold, but the four questions keep that adjustment explicit.
Compare high-percentage offense and defense when match context changes the switch threshold.
Use a two-way shot when both branches help when offense and protection can coexist.
Sources and further reading
References support the specific factual information above. The practical checklists are Ariakon editorial guidance.