
Break · 3 min read
Identify Whether Your Pool Break Problem Is Speed, Contact or Rack Quality
A poor break result can come from a loose or inconsistent rack, inaccurate head-ball contact, or more speed than the player can control. Those causes interact, so changing all three at once produces noise. This protocol inspects the rack without breaking a known bad one, establishes a square-contact baseline, and then adds speed only after the first two gates pass.
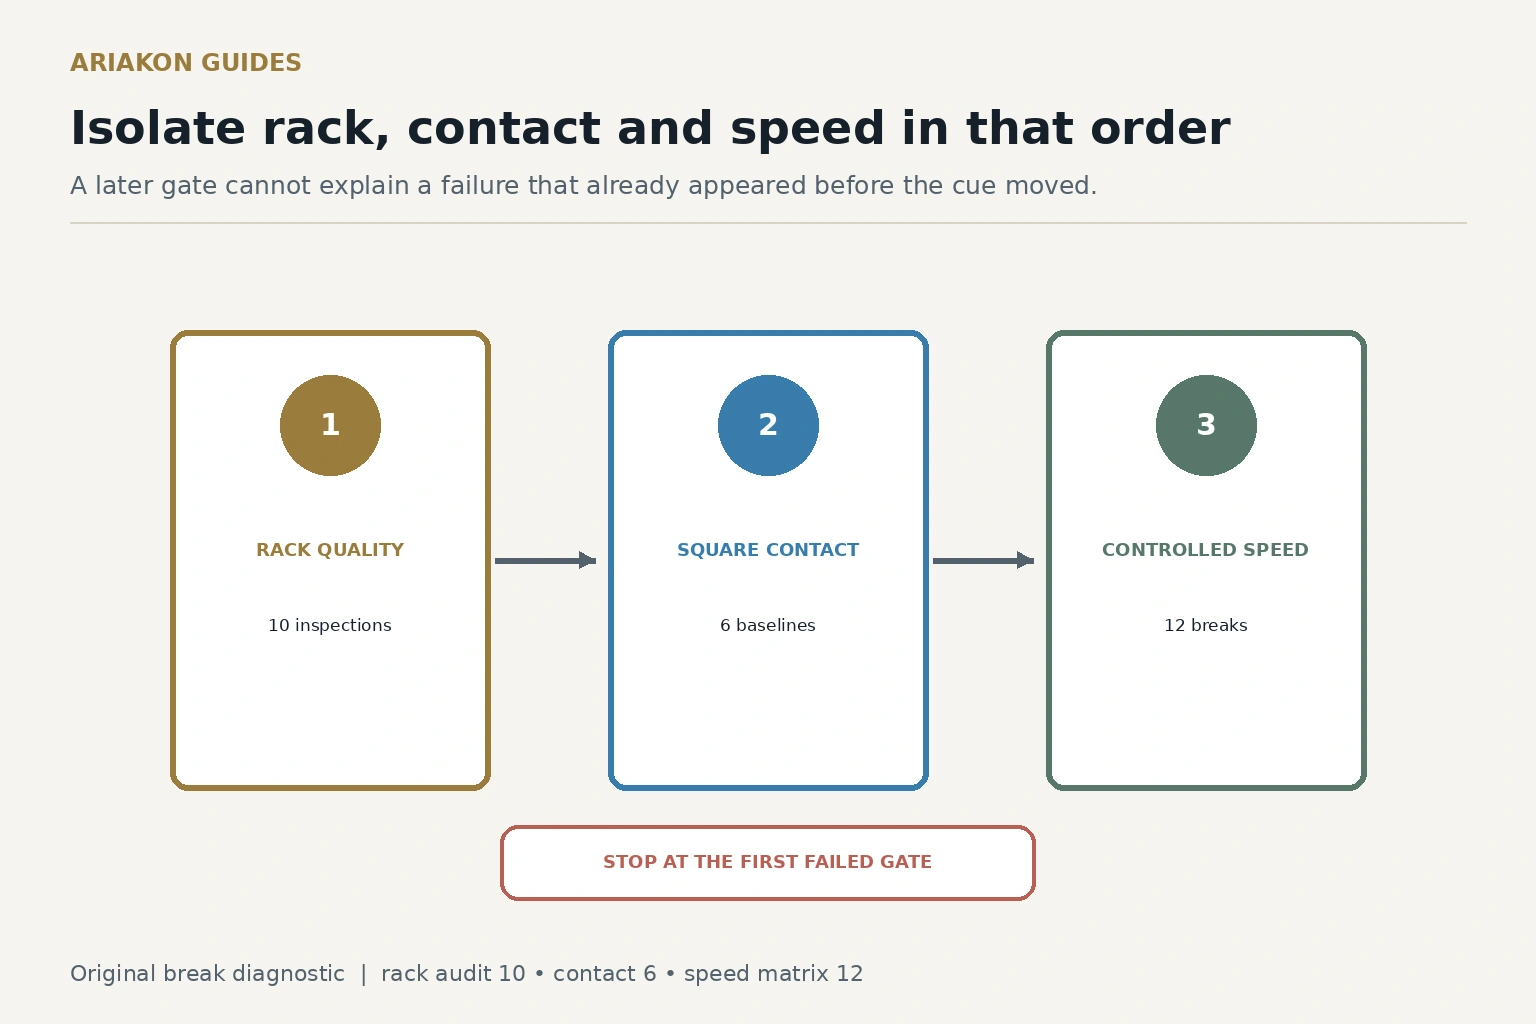
Gate one: audit ten racks before breaking
Choose the game and follow its current rack and break rules. Use the same clean ball set, triangle or legal template, spot and table. Build ten racks and inspect the contacts relevant to the chosen game from more than one angle. Record pass, visible gap or unstable lead-ball position. Reject and rebuild a failed rack; do not shoot it merely to create comparison data.
If fewer than eight of ten racks pass your repeatable inspection, solve the racking process before diagnosing the stroke. Marking a rack as good does not guarantee a favorable spread; it establishes a controlled input.
Build a consistent break and rack routine for the broader setup sequence.
Inspect an eight-ball rack when that is the selected ruleset.
Gate two: establish square contact
Rack only after Gate one passes. Mark one legal cue-ball start and shoot six controlled breaks at a speed where you can reliably hit the lead ball. Use safe front or rear video to classify the initial hit as square, left or right. Also record where the cue ball finishes; pocketed balls remain observations, not proof of contact quality.
Pass the contact gate with at least five square classifications in six attempts and no repeated side miss. This is an original practice threshold, not an official performance standard. If the same side misses twice, check aim, cue-ball center contact and delivery before adding power.
Gate three: run a three-speed matrix
Shoot four breaks at a controlled low speed, four at your normal match speed and four at the fastest speed you can attempt without leaving the table unsafe. Keep cue-ball start, rack procedure and tip plan fixed. Use a relative scale such as 6/10, 8/10 and 9/10 effort; do not invent miles per hour without a measured instrument.
Every rack must pass Gate one. If a rack fails inspection, rebuild it and do not count the attempt. Run four three-break cycles: low–normal–fast, normal–fast–low, fast–low–normal, then low–fast–normal. Each band receives exactly four attempts. This balances counts and reduces a simple order effect.
| Point | Requirement |
|---|---|
| 1 | Rack passes the documented inspection |
| 1 | Head-ball contact is square |
| 1 | Cue ball finishes in the center-table box or called safe area |
| 1 | Break satisfies the selected game's legal requirements |
| Maximum 48 | 12 breaks; record speed band separately |
Assign the first failing cause
| Evidence | Primary next action |
|---|---|
| Rack audit fails before the stroke | Repair racking procedure, spot or equipment condition |
| Contact misses at all speeds | Train head-ball accuracy and center-cue-ball delivery |
| Contact passes low/normal but fails fast | Reduce speed to the highest passing band |
| Contact is square but cue ball leaves the box | Check tip height, squareness and cue elevation |
| All gates pass but spread varies | Record table-specific ball paths before changing technique |
Worked example and match transfer
A hypothetical player passes nine of ten rack audits and five of six contact baselines. In the matrix, low and normal speeds produce seven square hits in eight attempts; fast speed produces one in four. The first failing variable is controllable contact at the fast band, not rack quality. The next session starts at normal speed and promotes only after two four-break sets produce at least seven square hits combined.
For transfer, use the best passing speed for five match-like breaks with the active break rules and alternating rack sides or positions only when legal. Record the same four gates plus whether a useful first shot exists. Do not change rack, speed and cue-ball position after one unlucky result.
Build speed without giving away control after contact and rack quality pass.
Use a complete break scorecard once the primary cause is isolated.
Sources and further reading
References support the specific factual information above. The practical checklists are Ariakon editorial guidance.