
Bridge technique · 5 min read
Five Pool Bridge Mistakes You Can Check on Video
A bridge can look stable at address and still move, bind or change length during the stroke. Video makes the first visible error easier to separate from a later miss. Use one straight setup and five camera checks instead of rebuilding the whole stance from a single bad shot.
Build one controlled filming setup
Place an object ball one diamond from a side pocket on the pocket centerline and the cue ball one diamond farther away. Use a center ball stop shot at ordinary pocket speed. Put the phone safely on the bridge side for the first angle and centered behind the cue for the second, without creating a walkway hazard.
Film five unscored registration shots from each angle before reviewing. The twenty-five scored shots below are a separate block; use the registered view that can show each field and mark hidden fields unknown. Keep the ball positions, bridge type, cue, speed and camera height constant. Slow motion helps locate timing, but the normal speed clip preserves the rhythm and whether the bridge adjustment interrupts the routine.
Choose the simplest bridge for the shot before diagnosing a hand shape that does not fit the layout.
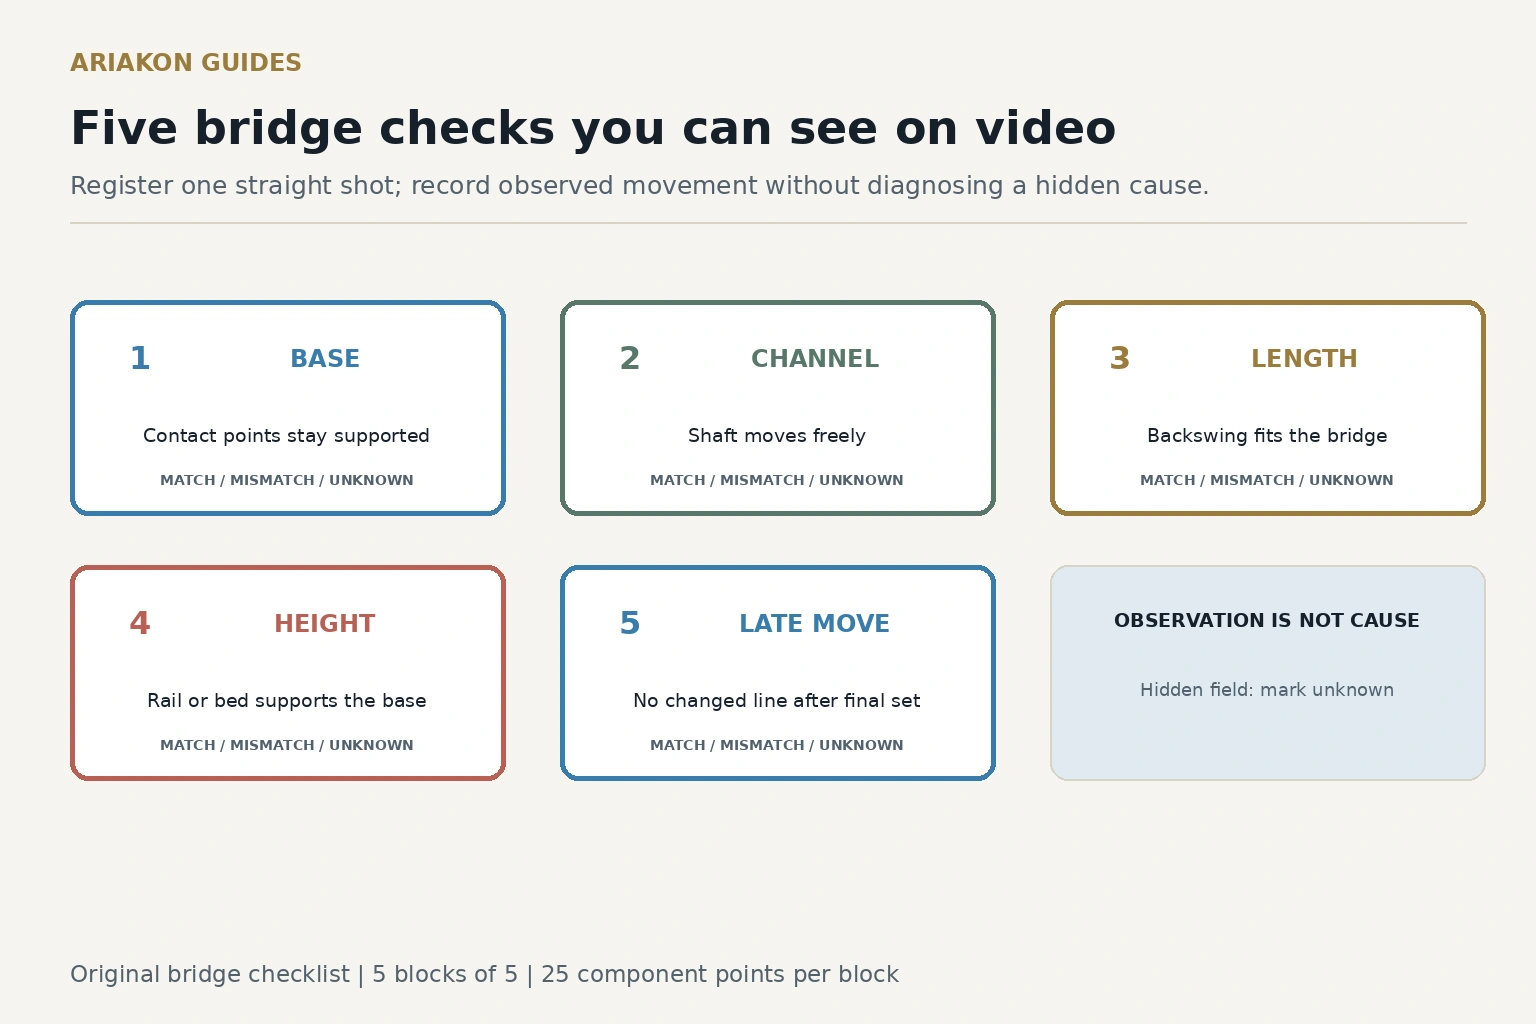
Mistake one: the base shifts during delivery
Watch the heel of the hand and the main contact fingers, not only the cue. If the base slides, rocks or lifts before contact, the shaft channel cannot remain in the planned place. Score the base as stable only when those contact points remain quiet through cue ball contact.
Widen or simplify the hand base and reduce speed for the next block. Do not press so hard that the arm becomes tense or the fingers lose their natural contact.
Mistake two: the shaft binds or rattles
A closed loop that squeezes the shaft can change friction during the forward stroke. An open channel that is much wider than needed can let the shaft bounce sideways. From the bridge side, watch the gap around the shaft and listen for scrape or rattle.
Use the lightest channel that guides the cue freely. Clean the shaft using its maker's instructions before changing the hand to compensate for dirt or tackiness.
Mistake three: bridge length does not match the stroke
Compare bridge length with the stroke you actually use. An unused long gap can make precise delivery harder to reproduce, while a bridge that crowds the backswing can restrict the planned stroke. In the fixed camera view, record whether the backswing fits the available space and whether the tip returns to the intended address region; do not infer a universal ideal length from the clip.
For this pocket speed test, shorten an unused long bridge before adding hand pressure. For a firm shot, lengthen only enough to support a smooth stroke you can still deliver straight.
Mistake four: the bridge does not fit the rail or height
When the cue ball is near a cushion, a flat table bridge may force the fingers onto an unstable edge or raise the cue unnecessarily. When another ball blocks the shaft, a low bridge may remove clearance. Film whether the base is supported by the rail and table and whether the cue has a clear path.
Practice rail and elevated bridges as separate shapes. Do not stretch a normal open bridge until only one fingertip carries the load. Use a mechanical bridge when reach, stability or table protection calls for it.
Build a stable pool rail bridge when the cue ball begins near the cushion.
Mistake five: the bridge changes after final aim
Use the rear clip to compare the cue line at the last warm up stroke and the final pause. A last second finger move, bridge creep or cue channel change means the shot is no longer using the line you approved. Reset rather than steering the cue back during delivery.
A small ring finger motion is not automatically an error. Diagnose movement only when it changes the base, shaft channel or cue line. The result and the physical evidence must agree.
Score twenty five shots by first visible error
Shoot five blocks of five. In each block, choose one checkpoint but record all five. Award one point for a stable base, one for free shaft travel, one for a bridge length matched to the stroke, one for a supported height and one for no bridge change after final aim. Maximum is twenty five per block.
Also record the first visible error on every failed attempt. Work on the checkpoint that appears first most often. A bridge that moves after an earlier head or body motion may be an effect rather than the cause.
| Block | Stable base out of 5 | Free shaft out of 5 | Matched length out of 5 | Supported height out of 5 | No late change out of 5 | First error pattern |
|---|---|---|---|---|---|---|
| 1 baseline | Fill in | Fill in | Fill in | Fill in | Fill in | Fill in |
| 2 base focus | Fill in | Fill in | Fill in | Fill in | Fill in | Fill in |
| 3 channel focus | Fill in | Fill in | Fill in | Fill in | Fill in | Fill in |
| 4 length and height | Fill in | Fill in | Fill in | Fill in | Fill in | Fill in |
| 5 transfer | Fill in | Fill in | Fill in | Fill in | Fill in | Fill in |
Transfer the correction to three bridge types
After one checkpoint passes four of five shots in two consecutive blocks, shoot five open bridge stops, five rail bridge stops and five comfortable closed bridge stops. Keep speed modest. Score only the corrected checkpoint and the cue ball stop result.
If the error returns in one bridge type, preserve the correction in the others and isolate that shape. If every bridge changes after the body moves, review the complete stance and stroke instead of forcing the hand to compensate.
Stabilize bridge hand pressure when extra pressure creates tension or deformation.
Use slow motion stroke review when the bridge movement follows a larger delivery error.
Sources and further reading
References support the specific factual information above. The practical checklists are Ariakon editorial guidance.