
Room planning · 4 min read
Plan Billiard Room Wall Art Without Compromising Play
Wall art can give a billiard room identity, but the table, light, players and walking routes remain the functional center. Use the RIGHTS–CLEARANCE–GLARE–MOUNT worksheet to choose a piece you may display, locate it outside the stroke envelope and verify the final sightlines under actual playing light.
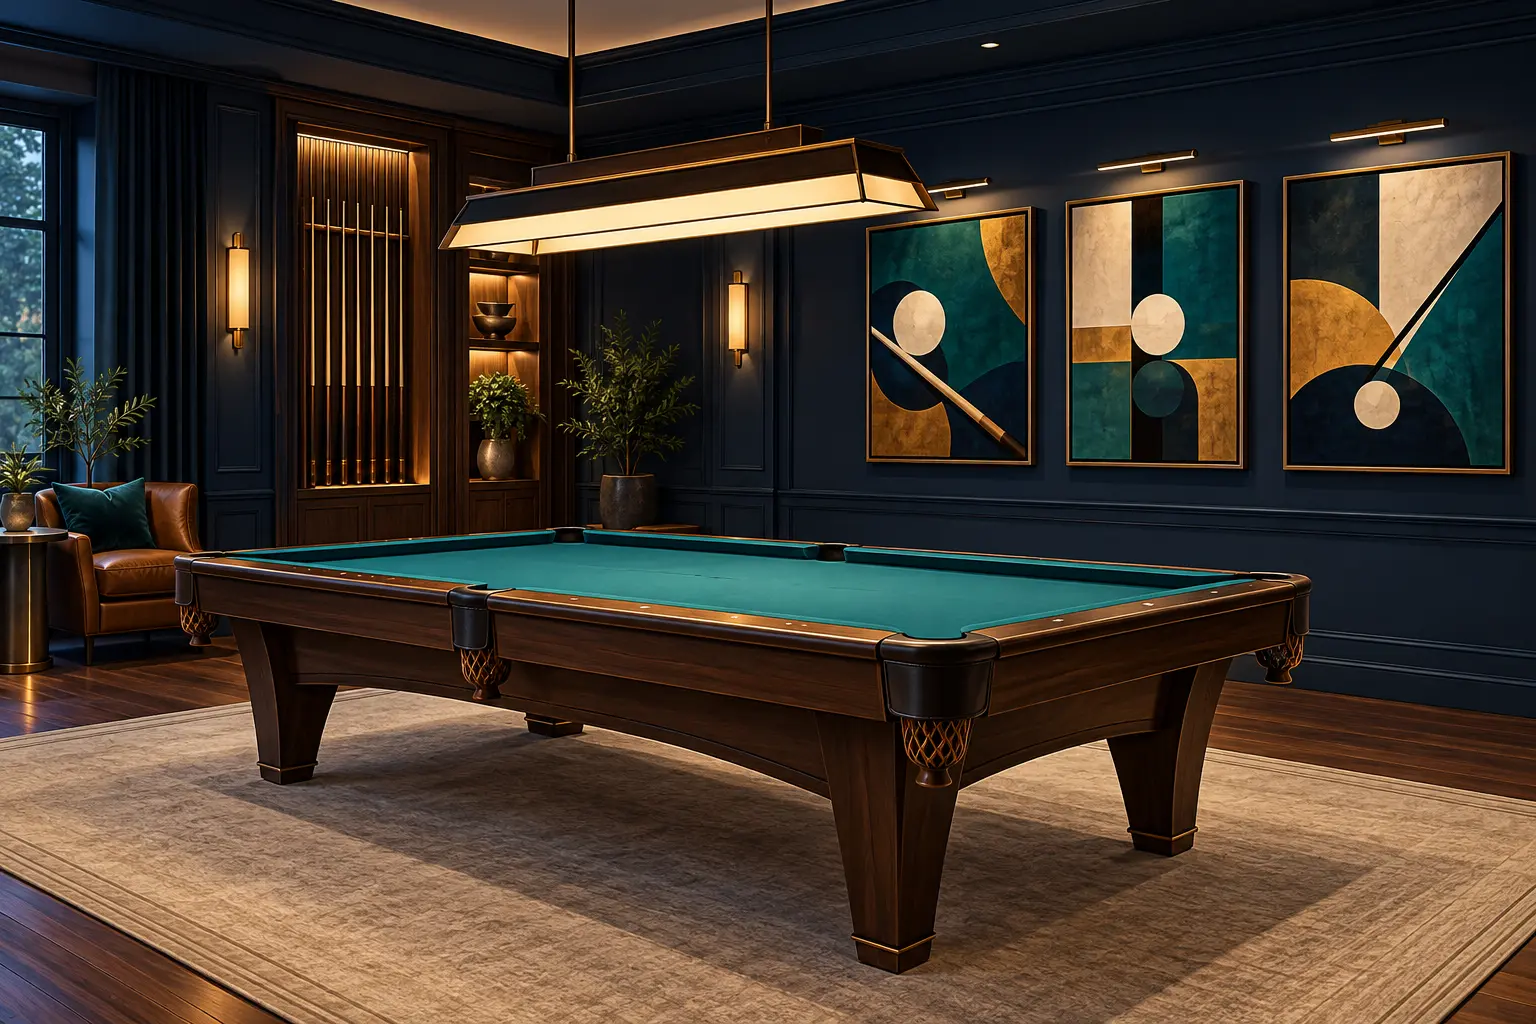
Clear the RIGHTS gate before planning the wall
The United States Copyright Office explains that copyright in visual art generally belongs to the creator and that owning a physical copy is not the same as owning copyright. A product photograph, event poster or image found online is not automatically free to reproduce or modify.
Keep the receipt, license and commission terms with the room record. When the venue is public or commercial, confirm that the documented permission covers that use before printing or mounting.
| Field | Record | Hold condition |
|---|---|---|
| Creator or rights source | ___ | Unknown origin |
| Object acquired | original / authorized print / commission / license | Only a downloaded image |
| Permitted use | private display / commercial display / reproduction | Planned use exceeds permission |
| Documents retained | receipt / license / written terms | No durable evidence |
| Credit or notice requirement | ___ | Requirement cannot be met |
Protect cue CLEARANCE and circulation
Use the completed table-room plan to mark the normal cue envelope before choosing a frame. Include frame depth, wall lights, picture ledges and any sculpture; a flat paper image does not represent a deep object.
Test the wall with the longest cue normally used from the nearest rail, quarter-rail and corner positions. Also walk the route between seating, cue storage and the table while another player is down on a shot.
| Check | Pass condition | Result |
|---|---|---|
| Nearest rail backstroke | Cue and grip clear outside frame | ___ |
| Corner stance | Shoulder and cue clear frame depth | ___ |
| Door or cabinet swing | No contact with frame | ___ |
| Walking route | No step-back collision | ___ |
| Cue rack access | Cues lift out without striking art | ___ |
Run an eight-viewpoint GLARE test
The current competition equipment specification treats even table lighting and glare toward players as playing-condition concerns. A home or club room may use different targets, but the practical principle remains: art lighting should not create a hard reflection or a brighter visual target than the shot.
A glossy surface that passes from standing height can still reflect the table light into a low stance. Change the location, angle, glazing or light plan and repeat all eight views.
- Tape paper to the exact outside frame dimensions and mark the glazing area.
- Cover the glazing area temporarily with a material that approximates its sheen.
- Turn on only the lights normally used for play.
- View from the head, foot and both side rails at standing eye height.
- Repeat the same four views from a low shooting stance.
- Record lamp reflections, bright hotspots and distracting contrast at each view.
Choose visual rhythm after the room passes
A single large piece can anchor a long wall; a small series can echo the table's rectangles and diamond spacing. Leave quiet space around scoreboards, cue storage, switches and service access so the room remains readable during play.
Test color with the table light on. Contrast on a side wall may help the room, while dense detail directly behind a pocket can become a repeated aiming distraction. Use the mockup for at least one complete session before committing.
Plan a safe MOUNT
Select hardware and installation methods for the actual wall, object weight and local requirements. Do not guess from the picture size or reuse an unidentified fastener. Keep heavy or projecting pieces away from player step-back paths and seating impact zones.
Photograph the installed hardware and final wall, then store the record with the rights documents. Future room changes should repeat clearance and glare tests rather than assuming the first location remains safe.
| Field | Record | Owner |
|---|---|---|
| Outside dimensions and depth | ___ | room planner |
| Weight including frame and glazing | ___ | installer |
| Wall construction | ___ | qualified installer |
| Hardware rating and count | ___ | qualified installer |
| Services checked behind wall | ___ | qualified installer |
| Final height and reference points | ___ | room owner |
Work a complete example
A 36 × 24-inch authorized print is planned for a side wall. Its frame adds 2 inches to each side and projects 1.5 inches. The paper mockup therefore measures 40 × 28 inches, and the clearance block projects 1.5 inches. The nearest rail position passes, but the low side-pocket view shows a bright lamp reflection.
Moving the mockup 18 inches toward the seating area clears the reflection and keeps the walking route open. The room owner records the license, framed weight and final location, then uses a qualified installer to select the wall-specific hardware. The art decision is complete only after all four worksheet gates pass.
Choose a table size with a rail-by-rail test before committing wall space around the playing envelope.
Plan a practical home pool room for lighting, seating, storage and circulation.
Sources and further reading
References support the specific factual information above. The practical checklists are Ariakon editorial guidance.