
Jump shots · 3 min read
Troubleshoot Jump Shots That Do Not Clear the Blocking Ball
A cue ball that fails to clear a blocker does not automatically need more force. The limiting event may be permission, an illegal scoop, off-center cue contact, insufficient elevation for the geometry, a tense jabbing delivery, or a landing plan that was never established. This troubleshooting ladder stops at the first failed event and never rewards table damage or uncontrolled height.
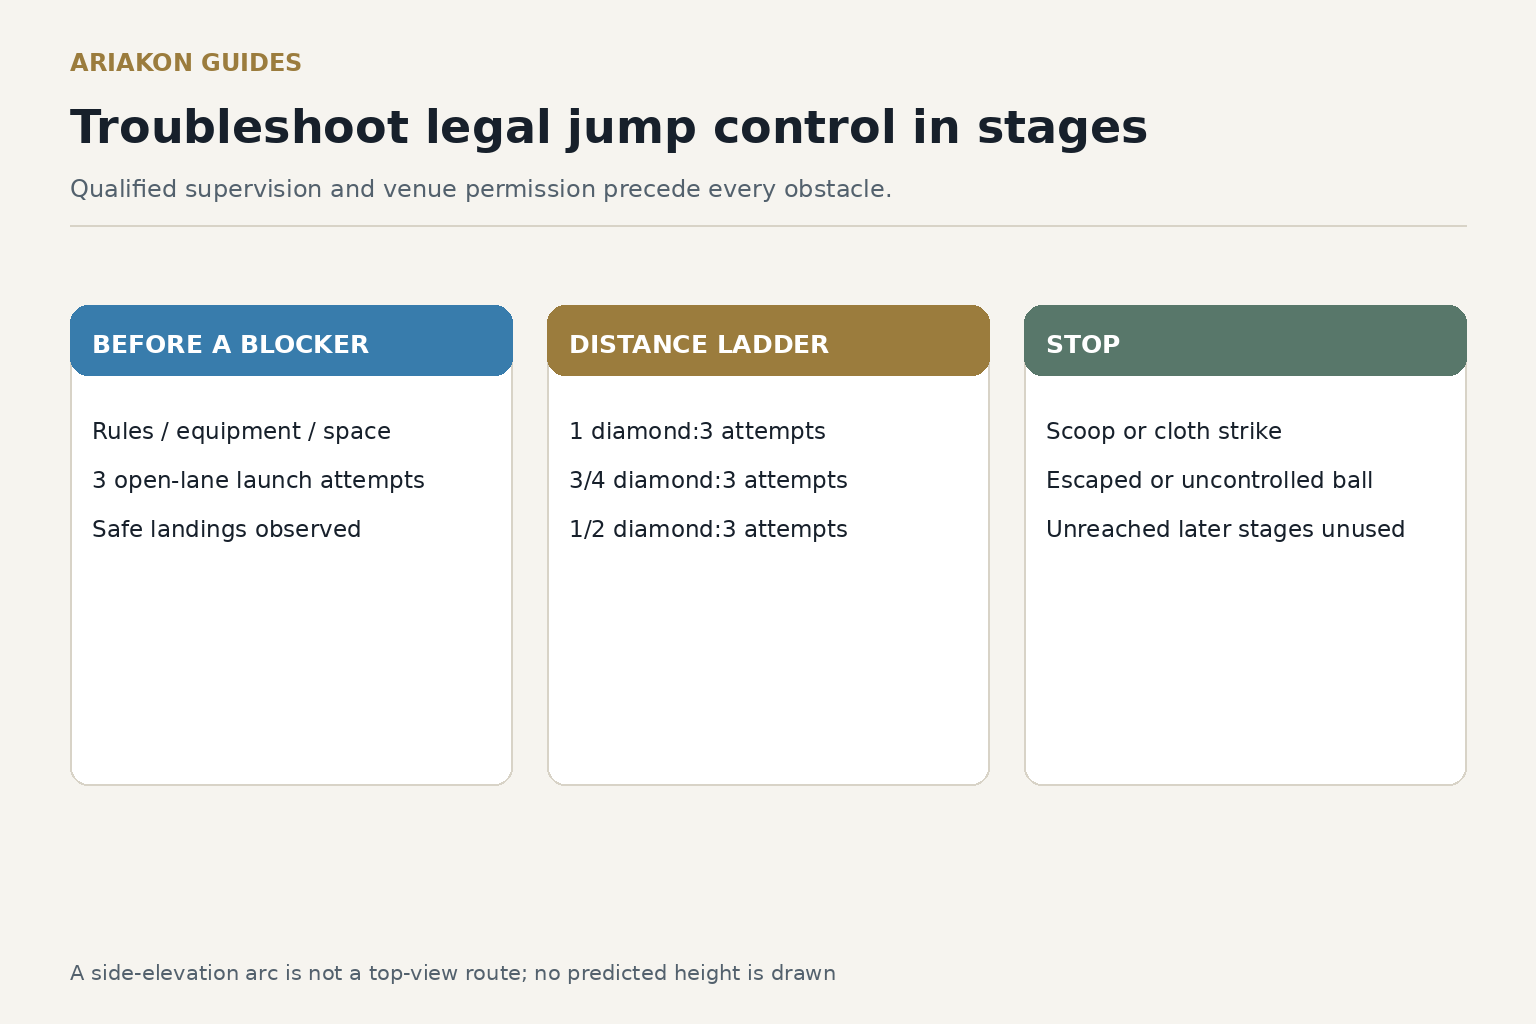
Pass five gates before diagnosing technique
| Gate | Pass evidence | Stop signal |
|---|---|---|
| Rules | Exact discipline allows the method and cue | Unknown rule or prohibited jump |
| Venue | Owner or instructor permits practice | No explicit permission |
| Equipment | Permitted jump cue and sound tip | Damaged tip or improvised cue |
| Perimeter | Clear landing lane and protected people | Ball can leave table or enter occupied space |
| Cloth | Clean undamaged practice area | Mark, tear, scoop or repeated tip contact |
Complete the legal jump-versus-massé comparison before choosing a specialty-shot practice path.
Confirm legal launch without a blocker
The WPA Rules of Play effective September 15, 2025 define a legal jump as an elevated cue driving the cue ball down into the playing surface so it rebounds. A scoop that contacts cloth and cue ball together to make the ball rise is treated as a miscue; discipline-specific rules can prohibit jumps.
Under qualified supervision, mark a broad landing zone two diamonds away and make three no-obstacle launch attempts. Pass only when all balls stay on the table, no tip or ferrule contacts cloth, and at least two land in the broad zone. Failure here belongs to delivery, permission or equipment—not blocker clearance.
Build a nine-shot clearance ladder
| Stage | Blocker distance from cue ball | Attempts | Advance gate |
|---|---|---|---|
| A | 1 diamond | 3 | 3 legal launches; 2 clearances; 2 landing-zone finishes |
| B | 3/4 diamond | 3 | Same gate with unchanged landing target |
| C | 1/2 diamond | 3 | Same gate; instructor confirms safe geometry |
| Stop | Closer than 1/2 diamond | 0 | Outside this beginner troubleshooting ladder |
Score control before height
| Result | Points | Record | Response |
|---|---|---|---|
| Scoop, cloth contact, ball off table or unsafe path | 0 | Immediate stop | End session and inspect |
| Legal launch; blocker hit | 1 | Contact height and side | Diagnose first failure |
| Blocker cleared; landing zone missed | 2 | Signed landing error | Restore speed control |
| Clearance plus called landing zone | 3 | Cue angle and effort label | Repeat unchanged |
Diagnose the first failed event
| Observed failure | Inspect first | One next action | Do not do |
|---|---|---|---|
| Tip contacts cloth or scoops | Contact point and cue path | Return to supervised no-obstacle launch | Add force |
| Cue ball starts sideways | Center contact and alignment | Restore straight elevated line | Aim around blocker |
| Top of blocker contacted | Geometry and legal elevation | Return to previous distance | Jab harder |
| Clearance succeeds but landing is long | Effort and landing call | Reduce one effort band | Move target after each shot |
| Results alternate wildly | Bridge, grip and setup | Stop after three and rebuild | Average unsafe attempts |
Pass the ladder before adding a target ball
Nine ladder attempts have a maximum of 27 points. Pass at 21 or better with no zero-point safety result and every stage meeting its advance gate. A stage that fails returns to the previous distance; it does not earn a higher cue angle or harder effort automatically.
An instructor should establish a stable permitted elevated delivery before adding a blocker. This worksheet prescribes no universal cue angle, bridge height or amount of force. The closer the blocker, the steeper the minimum clearance geometry becomes, so distance is a deliberate ladder variable.
Transfer to one legal object-ball contact
After passing under supervision, place a target object ball one diamond beyond the landing zone and call its contact half. Shoot five attempts from the easiest passed blocker distance. Score 0 for a foul or unsafe result, 1 for legal clearance, 2 for legal target-ball contact and 3 for contact plus called cue-ball finish; maximum 15.
Use the shot in a match only when the exact rules permit it and its contact probability and miss consequence compare favorably with a kick or safety. A higher jump is not a better jump when control declines.
Practice the complete jump-shot progression after the clearance fault has been identified and corrected.
Sources and further reading
References support the specific factual information above. The practical checklists are Ariakon editorial guidance.