
Equipment care · 4 min read
Replace a Pool Cue Tip with a Model-Gated Workflow
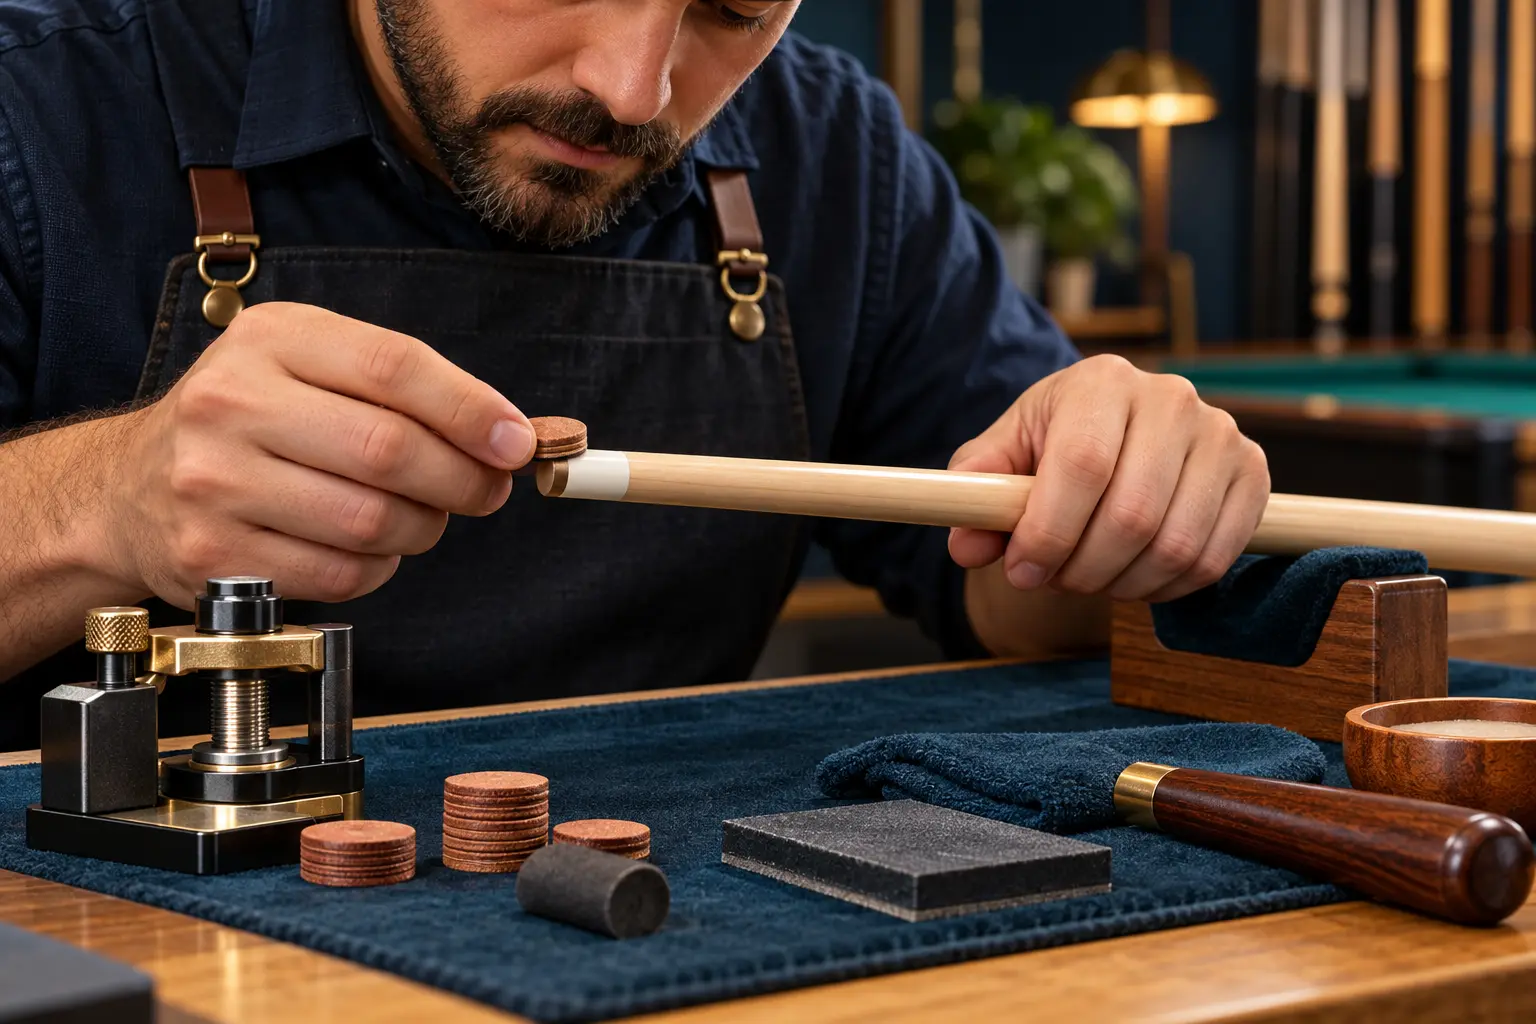
A replacement tip must be flat, centered and securely bonded while every protected layer beneath it remains intact. That is a model-gated repair: identify the shaft and current instructions before a blade, abrasive or adhesive enters the work area. The workflow below organizes a permitted conventional repair and supplies stop points; it is not permission to service an unknown, damaged or restricted front end.
Pass the identity gate before removing material
Save the instruction page and access date with four close photos. If no current instruction is available, do not guess from color, sound or a similar-looking shaft. Use qualified model-aware service.
The current international equipment specification describes permissible tip material for covered play. It does not identify a shaft's pad, plate, ferrule, adhesive or repair permission.
| Field | Record | Green evidence | Red stop |
|---|---|---|---|
| Maker and model | ___ | exactly identified | unknown construction |
| Shaft material | ___ | current instructions found | method copied from another material |
| Tip and diameter | ___ | compatible replacement documented | unknown hard, break or jump system |
| Pad, plate or ferrule | ___ | protected layer identified | layer missing, loose or unclear |
| Condition | ___ | sound and centered | crack, lift, gap or prior damage |
| Service permission | ___ | home repair permitted | authorized service required |
Rehearse the complete sequence away from the cue
The rehearsal passes only when the work stays stable, the face remains square, the disc centers on the first controlled clamp and the adjacent surface remains untouched. A failed rehearsal sends the actual shaft to a technician.
- Stabilize a sacrificial dowel or inexpensive practice cue in the planned padded fixture.
- Practice removing only mock tip material with hands outside the cutting path.
- Produce a flat square face without rounding the supporting edge.
- Center a practice disc and clamp it without sliding.
- Respect the adhesive instructions and full cure interval.
- Trim the practice sidewall without touching the mock ferrule.
Remove only the permitted old material
Support the shaft so it cannot roll. Work from the old tip toward the documented bonding face using the exact permitted method. Keep eye protection in place, hands out of the tool path and loose cloth away from the blade or rotating equipment.
Stop at the first protected layer. Prying sideways can lift a pad or damage the ferrule, and aggressive abrasion can tilt the face or change a protected finish. A visible crack, hollow, off-center prior cut or moving layer ends the home-repair path.
Center, bond and cure without improvising
| Control | Before clamp | After clamp | Stop signal |
|---|---|---|---|
| Face | flat, clean and permitted | no new edge damage | tilt or exposed structure |
| Tip | correct type and diameter | centered all around | slide or mismatch |
| Adhesive | compatible and in date | thin closed bond line | unknown chemistry or spill |
| Pressure | fixture aligned | tip has not bowed or shifted | unstable freehand clamp |
| Cure | start time recorded | full documented interval complete | early test hit |
Finish the tip, not the protected shaft
Bring only the leather sidewall toward the documented finished diameter while shielding the adjacent component. Shape the playing surface gradually and keep the dome centered. Do not chase a cosmetic flush line by cutting a pad, ferrule or shaft finish.
Inspect the complete bond under even light while rotating the shaft. A continuous line, centered tip and untouched adjacent surface are minimum evidence. Movement, a click, a lifted edge or a visible gap requires qualified inspection.
Run a twelve-shot acceptance test
Photograph the tip from four sides before and after the twelve shots. The test checks immediate visible stability; it does not certify long-term durability or erase the maker's warranty and service limits.
Keep this procedure separate from the earlier service decision. If any identity, safety, skill or consequence gate is red, the technician guide controls before this workflow begins.
| Block | Setup | Pass evidence | Immediate stop |
|---|---|---|---|
| 1. Center roll | four slow center-ball hits | tip remains centered and quiet | movement, click or opening |
| 2. Stop | four medium straight stop shots | bond line unchanged | new gap or surface damage |
| 3. Follow | four moderate follow shots | shape and bond remain stable | layer movement or unusual sound |
Decide between DIY and qualified service before starting this replacement workflow.
Inspect and maintain a sound cue tip when replacement is not yet justified.
Sources and further reading
References support the specific factual information above. The practical checklists are Ariakon editorial guidance.