
Break cues and equipment · 4 min read
Compare a Dedicated Break Cue With a Break-and-Jump Cue
The fair comparison is not one cue against a feature list. It is one two-role system against another: a dedicated breaker plus a separate permitted jumper, or a break-and-jump cue that changes configuration. Freeze the rack, recorded layouts, trial order and scoring before you begin. The result should tell you which system clears your break floor, your jump-role floor and your ownership constraints—not declare a universal winner.
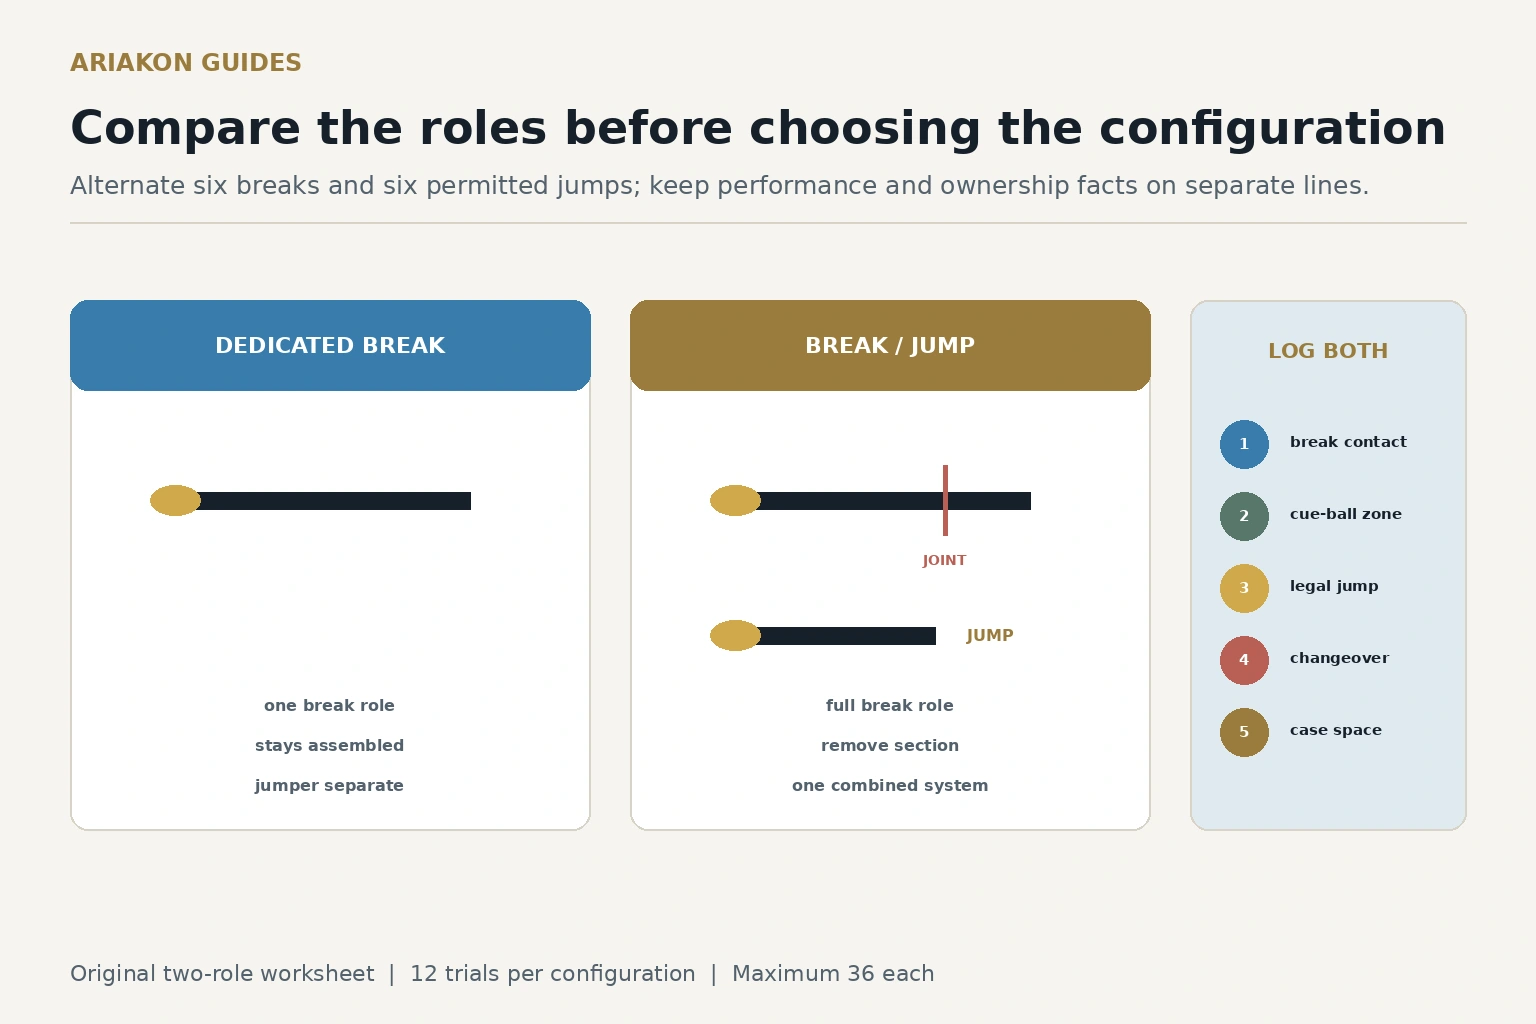
Define the two systems before testing
Confirm the exact cue instructions before separating any section. A visible joint does not prove that it is a jump conversion point. If the maker or seller cannot document the intended configuration, record unknown and do not improvise.
The current international rules and equipment references recognize normal, break and jump cue roles for covered play, but local leagues, events and rooms can restrict equipment. Record the controlling ruleset, venue and date. A legal product category does not guarantee permission in your next match.
| System | Break role | Permitted jump role | Ownership fact |
|---|---|---|---|
| Dedicated system | Dedicated break cue stays assembled | Separate jump cue | Two cue setups and their protectors |
| Combination system | Full cue stays assembled for breaks | Named rear section removed as documented | One convertible setup; threads handled during changeover |
Choose a break cue by fit and control before this narrower two-system comparison.
Run the separate break-weight experiment when mass—not configuration—is the question.
Mark one safe two-role station
Use table coordinates measured in diamonds from the head-left pocket: x runs 0–8 toward the foot rail and y runs 0–4 across the width. For every break, use the same legal rack, cue-ball start and effort band. For the low-obstacle jump trial, place the cue-ball center at (2, 2), the blocker center at (3, 2), the target-ball center at (5, 2), and mark a landing rectangle from x=3.5 to 4.5 and y=1.5 to 2.5. The task is to clear the blocker legally and contact the target; no pocket is scored.
Run only where the rules, table owner and safe practice conditions permit jump shots. Use a competent supervisor if the stroke is unfamiliar. A scoop, cloth strike, ball leaving the table or unsafe body position ends that attempt at zero. If permission or supervision is missing, mark the jump role not tested instead of manufacturing a result.
Alternate twelve trials per system
Reset exact centers after every trial and alternate which system begins each cycle. Use the same breaker, rack method and target. Do not tune tips, change cue-ball position or rehearse with only one system after scoring begins.
Time three calm role changes separately. Start with both systems stored as they would be in a match and stop when the correct cue is assembled, checked and ready. Median changeover time belongs in the ownership sheet, not the shot score.
Each listed cycle gives six actual trials per system, three of each role; two cycles give 12 per system and 24 across both. A safety stop ends the affected role rather than leaving repeated unsafe attempts at zero. If the role is not tested, keep no combined 36-point claim; report the completed role and missing evidence separately.
| Cycle | Dedicated system | Combination system |
|---|---|---|
| 1 | three breaks, then three jumps | three jumps, then three breaks |
| 2 | three jumps, then three breaks | three breaks, then three jumps |
| Total | six breaks + six jumps | six breaks + six jumps |
Score break and jump evidence separately
Write two subtotals out of 18 before the combined score out of 36. A high combined score cannot hide a role below your minimum. Define the break danger zones and square-contact tolerance on the scorecard before Trial 1.
Example: dedicated system 16/18 break and 12/18 jump; combination system 14/18 break and 14/18 jump. Both total 28/36, but they solve different priorities. If your break floor is 15, only the dedicated system clears it. If both role floors are 12 and one saved case slot matters, the combination remains viable.
| Role | 0 | 1 | 2 | 3 |
|---|---|---|---|---|
| Break | foul or unsafe | legal break; head contact misses marked tolerance | legal square contact; cue ball ends outside danger zones | two points plus a playable first-shot view |
| Jump | scoop, cloth strike, ball off table or unsafe | legal launch; blocker contacted | blocker cleared; target missed | blocker cleared and called target contacted |
Finish with the ownership worksheet
Select only after a second-day repeat. Keep performance, ownership and permission on separate lines. Price, appearance or one spectacular shot cannot replace a missing role result, and this worksheet makes no inventory or product recommendation.
| Field | Dedicated system | Combination system | Evidence |
|---|---|---|---|
| Occupied case capacity | ___ | ___ | count cue sections and protectors |
| Median changeover | ___ s | ___ s | three calm repetitions |
| Joint handling | ___ | ___ | clean engagement and storage steps |
| Rules permission | yes / no / unknown | yes / no / unknown | ruleset, venue, date |
| Service compatibility | ___ | ___ | documented tip, joint and part support |
| Role floors met twice | ___ | ___ | repeat on another day |
Sources and further reading
References support the specific factual information above. The practical checklists are Ariakon editorial guidance.