
Break technique · 3 min read
Calibrate the Best Break Position for the Game and Table
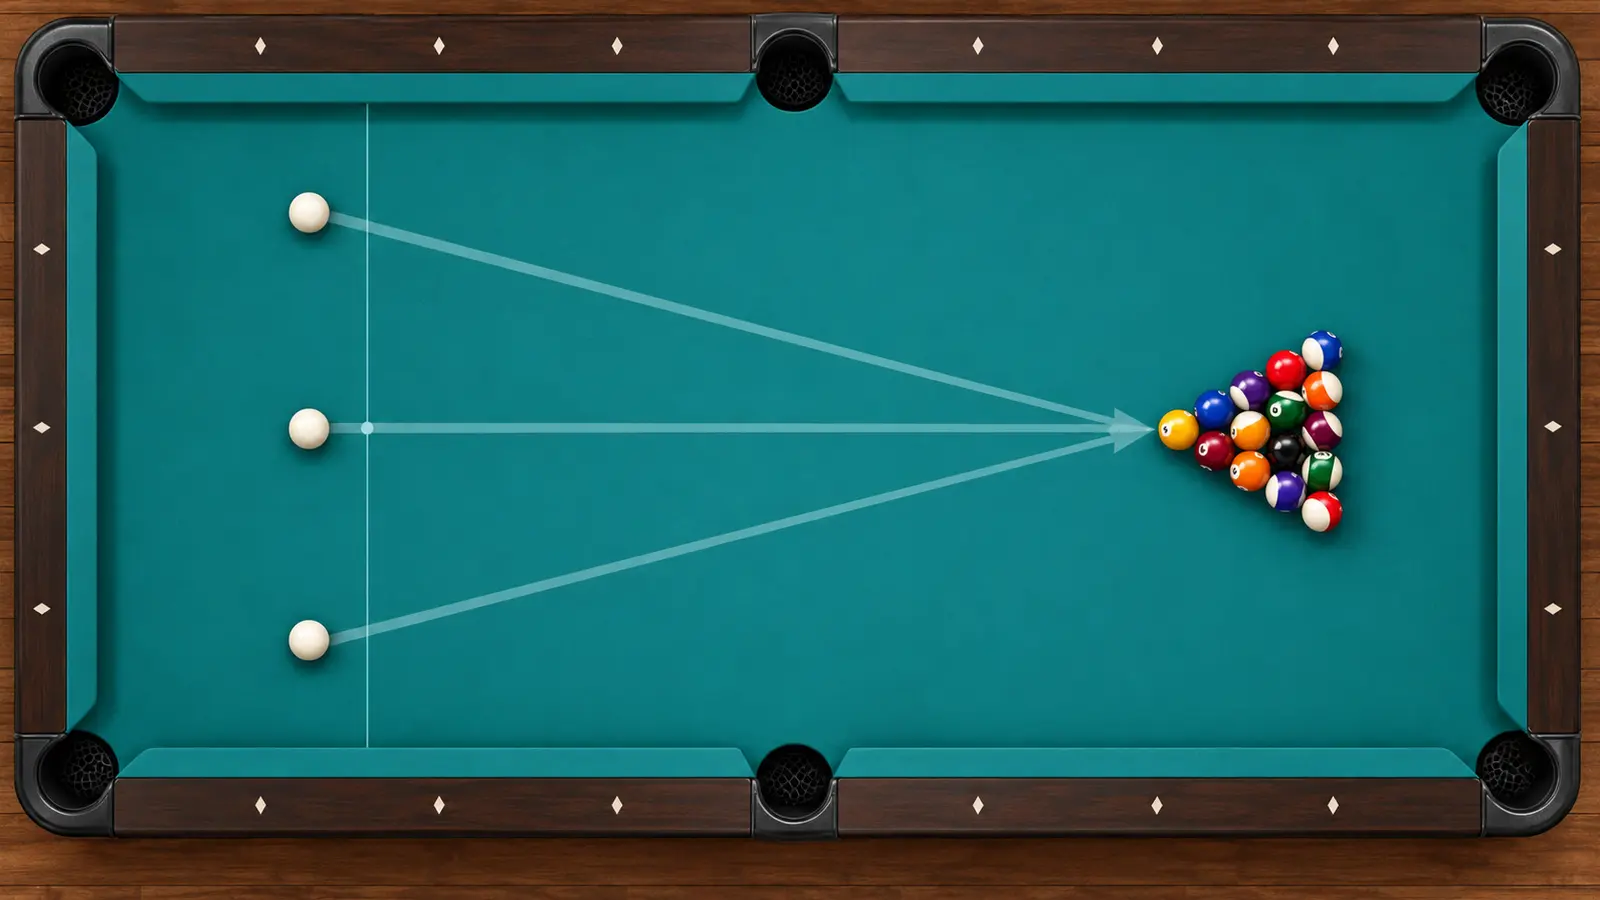
There is no universal best place to break from. The legal placement area and break requirements depend on the game and event rules, while the useful starting spot also depends on rack quality, cloth, rails, balls and a player’s ability to control the cue ball. Calibrate positions with the same rack and measurable outcomes before moving again.
Confirm the current rules first
Read the rules for the exact game and event. Confirm where the cue ball may be placed, which balls or rails must be contacted, whether a break box applies, what counts as a legal break and what happens after a scratch or illegal break.
A position that is legal in casual eight-ball may not be legal in a particular nine-ball or ten-ball event. Local conditions never override the published tournament rule set.
Start with a controllable baseline
Place the cue ball near the center of the allowed area and hit the intended head ball as squarely as your chosen break requires. Use enough speed to satisfy the rules and create a useful spread without sacrificing cue-ball control.
Mark the start position with a non-damaging reference outside the playing surface or by diamond coordinates. A baseline only helps if you can reproduce it.
Test positions in small steps
Move the cue ball half a diamond toward one side, then test an equal move toward the other. Keep the rack, target contact, spin and intended speed as constant as practical for a scored set.
Do not chase a single made ball by moving after every attempt. Rack variation is large enough that several breaks are needed before a pattern is useful.
Score more than balls made
Record legal break, cue-ball scratch, cue-ball position, clusters and whether a predictable first shot appears. Balls made matter, but a pocketed ball with a scratch or no controllable next shot may be a poor result.
Use video only where allowed and position it safely outside play. A slow review can show whether the cue ball was struck as intended or the rack contact changed.
Recalibrate when conditions change
A different cloth speed, ball set, rack template, humidity, table size or cushion response can change the useful break. Recheck the baseline before assuming yesterday’s side position still produces the same spread.
If the rack is visibly loose or inconsistent, correct the rack under the rules instead of compensating with more power. The test is about position, not learning to exploit a bad rack.
Run a three-position break test
- Confirm the legal placement area and break requirements.
- Mark center, half-diamond left and half-diamond right starts.
- Shoot at least five controlled breaks from each.
- Record legality, scratch, cue-ball finish, clusters and first-shot quality.
- Choose the most controllable pattern, not the loudest break.
- Repeat after any meaningful table or rule change.
Sources and further reading
References support the specific factual information above. The practical checklists are Ariakon editorial guidance.